|
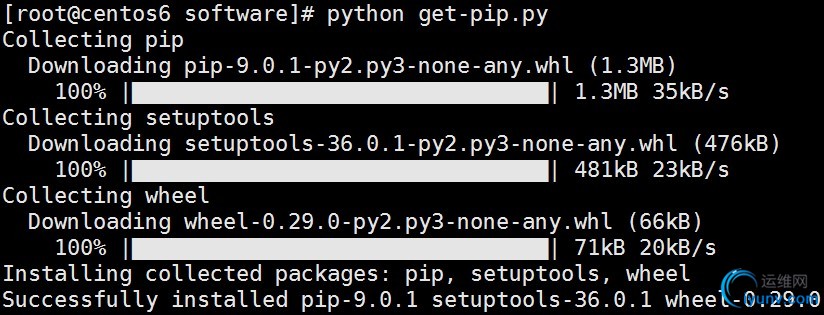
Python官网:https://www.python.org/ 一、查看CentOS版本和系统默认Python版本: # cat /etc/redhat-release # python -V 二、编译安装Python-2.7.10: 1、 安装依赖软件包及包组: # yum -y groupinstall "Development tools" # yum -y install zlib-devel bzip2-devel openssl-devel ncurses-develsqlite-devel readline-devel tk-devel gdbm-devel db4-devel libpcap-develxz-devel man 2、 设置CentOS 6.9当前系统时间: # date 071017452017.20 # date 3、 编译安装Python-2.7.10: # tar -xf Python-2.7.10.tar.xz -C /usr/src # cd /usr/src/Python-2.7.10 # ./configure --prefix=/usr/local/python2.7.10 --enable-shared--enable-profiling --disable-ipv6 --with-signal-module --with-dec-threads--with-threads --with-pth --with-doc-strings --with-tsc --with-pymalloc--with-wctype-functions --with-fpectl | tee /tmp/python2.7.10.out # less /tmp/python2.7.10.out # make && make install 4、 更改CentOS 6.9的默认Python版本为2.7.10: # mv /usr/bin/python /usr/bin/python2.6.6-old # ln -s /usr/local/python2.7.10/bin/python2.7 /usr/bin/python 5、 添加至PATH环境变量: # vim /etc/profile.d/python2.7.10.sh export PATH=/usr/local/python2.7.10/bin:$PATH # . /etc/profile.d/python2.7.10.sh # echo $PATH 6、 配置头文件: # ln -s /usr/local/python2.7.10/include /usr/include/python2.7.10 7、 配置库文件: # echo "/usr/local/python2.7.10/lib" >/etc/ld.so.conf.d/python2.7.10.conf # cat /etc/ld.so.conf.d/python2.7.10.conf # ldconfig 8、 配置man帮助文档: # vim /etc/man.config,新增如下代码: MANPATH /usr/local/python2.7.10/share/man 9、 查看配置后的Python版本: # python -V # python2 -V 三、将yum中的Python版本修改为系统原来的2.6.6版本: 升级Python后会导致yum无法使用: # vim /usr/bin/yum,将第一行的“#!/usr/bin/python”修改为“#!/usr/bin/python2.6.6-old” 四、Python版本从2.6.6升级到2.7.10,导致pip无法使用,修复pip: # pip -V # yum -y install python-pip wget # python get-pip.py


# mv /usr/bin/pip /usr/bin/pip2.6.6-old # ln -s /usr/local/python2.7.10/bin/pip2.7 /usr/bin/pip
|