|
|
Step by step import reuseable workflow in SharePoint 2013 by Visual Studio
This walkthrough demonstrates how to import a reusable workflow created in SharePoint Designer 2013 into a Visual Studio SharePoint workflow project.
Workflows created in SharePoint Designer, or declarative workflows, consist of XML statements instead of code. SharePoint Designer 2013 introducesreusable workflows, which are portable, declarativeworkflows that can be used by different lists in SharePoint sites.
Workflows created in Visual Studio 2013, such as sequential and state machine workflows, are calledcode workflows. Code workflows consist of XML files and code modules in which users can customize the workflow's behavior.
Visual Studio allows you to import reusable workflows created in SharePoint Designer 2013 and convert them to code workflows for use in your SharePoint sites.
This walkthrough demonstrates the following tasks:
- Creating a simple, reusable workflow in SharePoint Designer.
- Exporting the SharePoint Designer reusable workflow to a .wsp file and into SharePoint.
- Importing the .wsp file into Visual Studio by using the Import Reusable Workflow project.
- Altering the workflow by adding code.
- Using the imported workflow in a SharePoint site.
Create a SharePoint Designer Reusable Workflow
Because SharePoint does not include any reusable workflows that you can use for this example, you will create one.In this simple workflow, when a user enters anew task in the Task list that has a specific title, the task is assigned to that user.
Create Target SharePoint Subsites
First you create two new SharePoint subsites: one to host the reusable workflows from SharePoint Designer, another to host the converted workflows.
To create SharePoint subsites
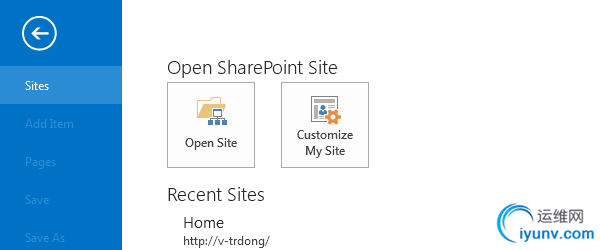
- In SharePoint Designer 2010, on the menu bar, chooseFile,New Blank Web Site
- In theNew Blank Web Site dialog box, browse to a SharePoint site where you want to create the workflow, or use the value of http://SystemName/and then choose theOK button.The Home page appears.
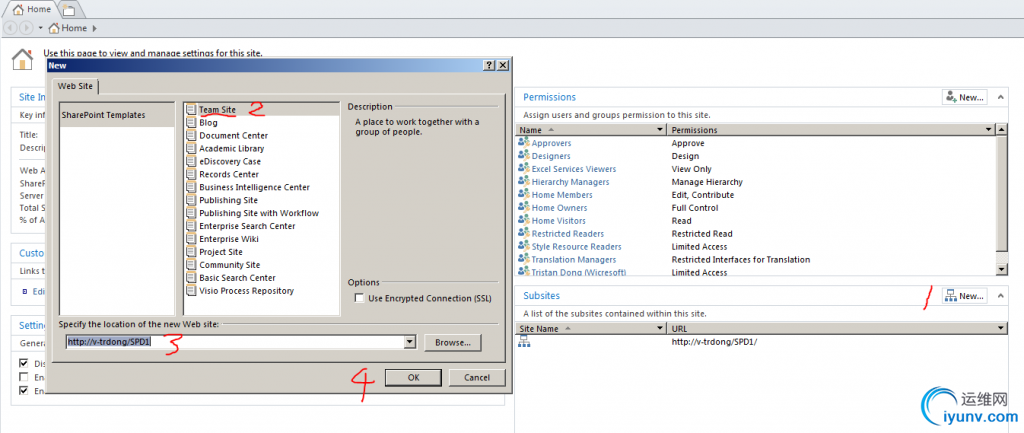
- In the Subsites section, choose the New button.
- In the New dialog box, choose SharePoint Templates from the list in the left pane, and chooseTeam Site from the list in the right pane.
- In the Specify the location of the Web site box, replace the word subsite in the URL with SPD1, and then choose the OK button.
- This opens the new subsite into SharePoint Designer.Close this instance of SharePoint Designer and go back to the first instance (the top-level site).
- Repeat steps 3 - 5 to create the second subsite, this time replacing the wordsubsite in the URL with SPD2.

To create a SharePoint Designer reusable workflow
- In the Subsites section, choose theSPD1 site to modify it.
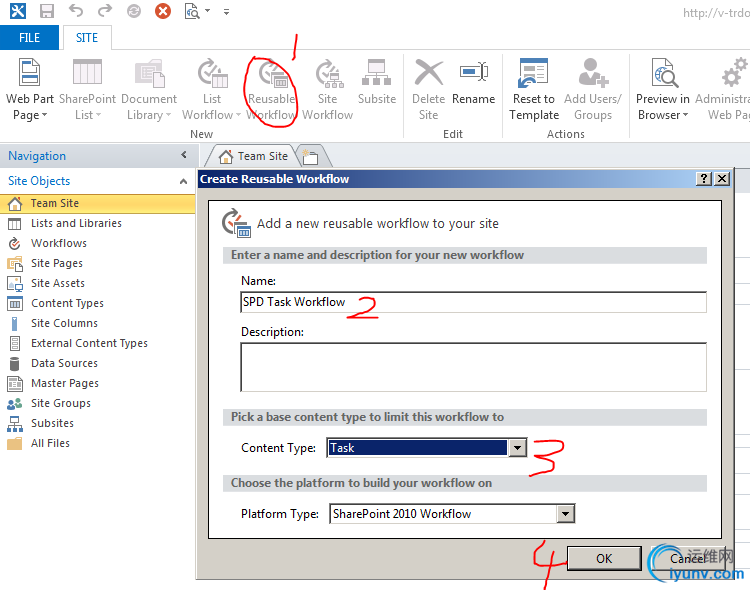
- On the ribbon, choose the Reusable Workflow button.
The Create Reusable Workflow wizard appears.
- In the Name box, enter SPD Task Workflow.
- In the Content Type list, chooseTask, and then choose theOK button.
The workflow opens in the SharePoint Designer workflow designer.
- In the workflow designer, choose Step 1, and then, on the ribbon, choose theCondition button.
- In the list of conditions, choose If current item field equals value.
This step adds a condition that’s named If field equals value.
- In the If field equals value condition, choose thefield link.
- In the list of values, choose Title.
- In the If field equals value condition, choose thevalue link.
- In the box, enter New task.
The condition statement now reads If Current Item:Title equals New task.
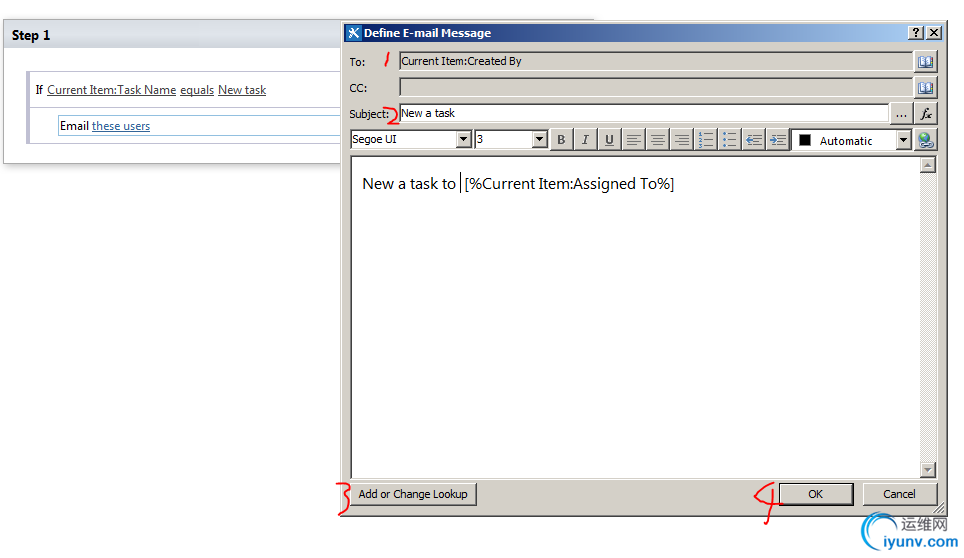
- Choose the line under the condition statement, and then, on the ribbon, choose theAction button.
- In the list of actions, choose Set field in current item.
- In the Set field to value action, choose thefield link, and then, in the list, chooseAssigned to.
- In the Set field to value action, choose thevalue link, and then, in the list of existing users and groups, chooseUser who created the item.
- Choose the Add button, and then choose theOK button.
The action statement now reads Set Assigned To to Current Item:CreatedBy.
Save and Deploy the Reusable Workflow
Because Visual Studio can import only .wsp files, you must save the reusable workflow as a .wsp file and deploy it to SharePoint before importing it into Visual Studio.
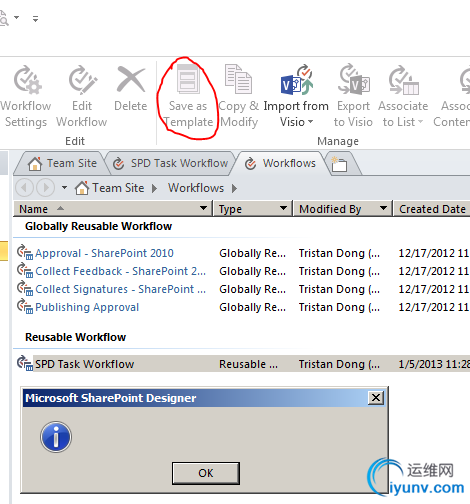 Important If you receive a runtime error performing the following procedure, you have to perform the procedure on a system that has access to the SharePoint site.
To save and deploy the reusable workflow
- At the top of SharePoint Designer, choose theSave button to save your progress, and then choose thePublish button to deploy the workflow to theSPD1SharePoint site.
- In the Navigation pane, choose the Workflows object.
- Under Reusable Workflow, chooseSPD Task Workflow.
- On the ribbon, choose the Save as Template button to save the workflow as a .wsp file.
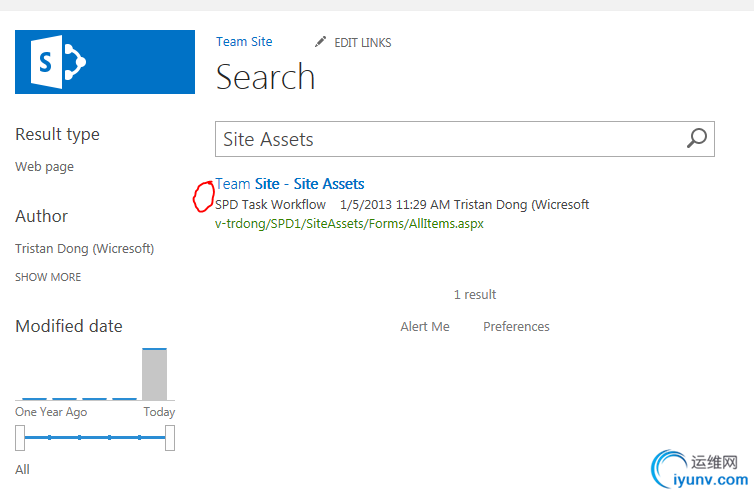
- Open the SPD1 SharePoint site in a browser to view the .wsp file in SharePoint.
- Search the template in SPD1
- In the File Download dialog box, choose theSave button to save the .wsp file on your local system.
Import the .wsp File into Visual Studio
Import the .wsp file into Visual Studio by using an Import Reusable Workflow project.This project converts the workflow from a reusable, declarative workflow intoa code workflow.After the workflow is converted, you will use code to modify its behavior.
To import a workflow from a .wsp file and modify it
- In Visual Studio, on the menu bar, choose File, New, Project.
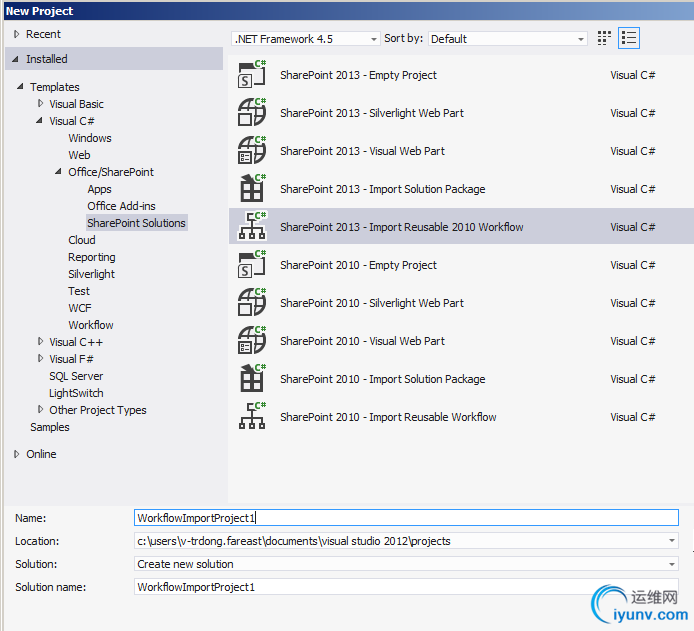
- In the New Project dialog box, expand theSharePoint node under eitherVisual C# orVisual Basic, and then choose the2010node.
- In the Templates pane, choose theImport Reusable SharePoint 2010 Workflow template, leave the name of the project asWorkflowImportProject1,and then choose the OK button.
The SharePoint Customization Wizard appears.
- On the Specify the site and security level for debugging page, enter the URL for the second SharePoint subsite that you created previously: http://system name/SPD2.

- In the What is the trust level for this SharePoint solution? section, choose theDeploy as a farm solution option button, and then choose theNextbutton.
For more information about sandboxed versus farm solutions, seeSandboxed Solution Considerations.
- In the Specify the new project source page, browse to the location on the system where you previously saved the .wsp file, open the file, and then choose theNext button.
Note Choose the Finish button to import all available items in the .wsp file.
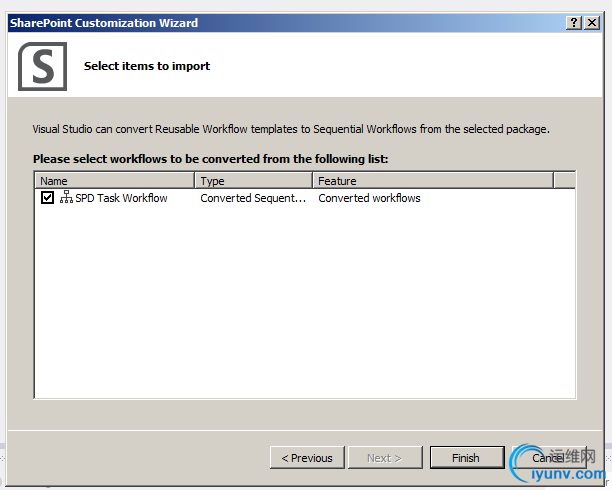
This displays a list of reusable workflows available for importing.
- In the Select items to import box, choose theSPD Task Workflow workflow, and then choose theFinish button.
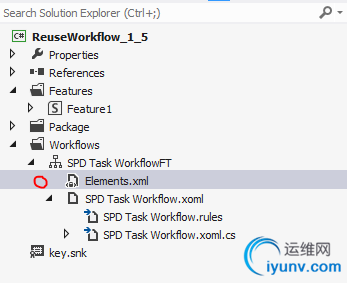
After the import operation is finished, a project namedWorkflowImportProject1 is created containing a workflow namedSPD_Workflow_TestFT.Inthis folder is the workflow's definition file Elements.xml and the workflow designer file (.xoml).The designer contains two files: the rules file (.rules) and the code-behind file (either .cs or .vb, depending on yourproject's programming language).
- In Solution Explorer, chooseWorkflowImportProject1, and then, on the menu bar, chooseProject,Set as Startup Projectto setWorkflowImportProject1 as the Startup Item.
This displays the list immediately when you debug the project.
- Because the Import Reusable SharePoint 2010 Workflow template doesn’t import the association property values for the imported workflow, you must enter them.Todo this:
- In Solution Explorer, choose theSPD_Workflow_TestFT node.
- Choose the ellipsis (
 ) button next to one of the list properties, suchas the Target List property.
- Fill in the missing values in the SharePoint Customization Wizard, and then choose theFinish button.
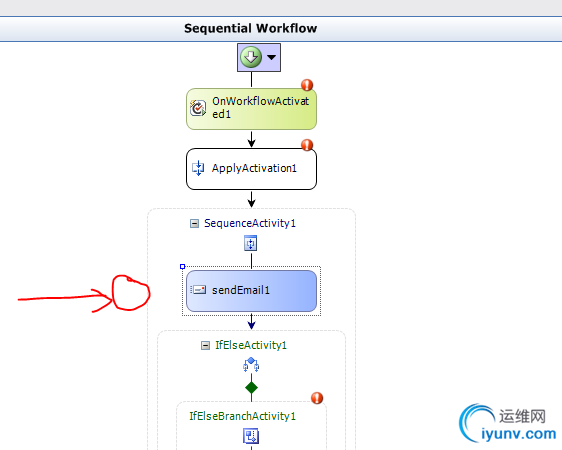
- Choose the .xoml file, and then, on the menu bar, chooseView,Designer to view the imported workflow in the workflow designer.
- In the Windows Workflow v3.0 node of theToolbox, perform one of the following steps:
- Open the shortcut menu for the Code activity, and then choose Copy.In the workflow designer, open the shortcut menu for the line under theSequenceActivity1 activity, and then choosePaste.
- Drag the Code activity from theToolbox to the workflow designer, and connect it to the line under theSequenceActivity1 activity.
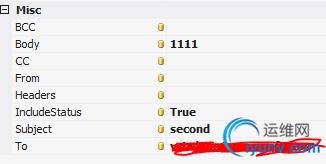
This adds an activity to the workflow designer namedCodeActivity1.In this activity, you will add a code action that creates an announcement in the Announcementslist when the user starts the workflow.

Deploy the Project and Associate the Workflow
Next, run WorkflowImportProject1 to deploy it to a SharePoint site and then associate the workflow with the Tasks list to view and test the modified, converted workflow.
To deploy the project and associate the workflow
- In Visual Studio, choose the F5 key to run and deploy the converted workflow project.
- On the QuickLaunch bar, choose the Tasks link to display the Tasks list.
- On the List Tools tab, choose theItems button, and then choose theNew Item button.
The Tasks - New Item dialog box opens.
- In the Title box, enter New task, and then choose theSave button.
- On the List Tools tab, choose theList button, and then choose theList Settings button.
The List Settings page appears.
- In the Permissions and Management section, choose theWorkflow Settings link.
The Workflow Settings page appears.
- Choose the Add a Workflow link.
- In the Workflow list, chooseWorkflowImportProject1 - SPD Workflow Test.
- In the Name box, enter SPD Workflow Test, and then choose theOK button.
- In the QuickLaunch bar, choose the Tasks list.
- Choose the arrow next to New task, and then, in the list, choose Workflows.
- In the Start a New Workflow section, choose the link forSPD Workflow Test, and then choose theStart button to initiate the workflow.

Hope to help you,
The detail link to:http://msdn.microsoft.com/zh-cn/library/ee231580.aspx |
|