|
|
前提:
本机测试,确保hosts的内容为这样:
cat /etc/hosts
127.0.0.1 localhost
默认网站根目录:/var/www
Debian OS
一、安装配置LAMP
1. minimize installation lamp (size is about 30M)
打开终端,执行下列命令:
sudo aptitude install apache2 php5-mysql libapache2-mod-php5 mysql-server
安装过程中需要设置password(for mysql root user)。
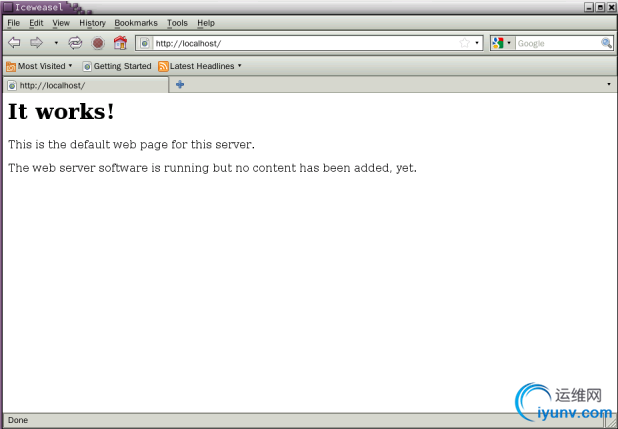
安装完成以后,打开浏览器,输入http://localhost,显示如下:

说明安装成功。
2.install phpmyadmin(version 3.5.1,size is about 5.7M)
(1)安装phpmyadmin
基于安全考虑,强烈建议不要从源里安装phpmyadmin,而使用源码安装。到官网下载phpmyadmin源码包,解压到/var/www/phpmyadmin。
(2)修改phpmyadmin配置文件
终端下执行:sudo cp /var/www/phpmyadmin/conifg.sample.inc.php ./config.inc.php
vim config.inc.php
找到“blowfish_secret",确保其值不为空,本机配置文件内容如下:
$cfg['blowfish_secret'] = 'a8b7c6d';
/* Authentication type */
$cfg['Servers'][$i]['auth_type'] = 'cookie';
/* Server parameters */
$cfg['Servers'][$i]['host'] = 'localhost';
$cfg['Servers'][$i]['connect_type'] = 'tcp';
$cfg['Servers'][$i]['compress'] = false;
/* Select mysql if your server does not have mysqli */
$cfg['Servers'][$i]['extension'] = 'mysql';
$cfg['Servers'][$i]['AllowNoPassword'] = false;
3.安装php5-mcrypt(加密解密?size is 96.7K)
sudo apt-get install php5-mcrypt
4.修改php配置文件
vim /etc/php5/apache2/php.ini
在extension下面添加一行内容:
extension = php_mcrypt.so
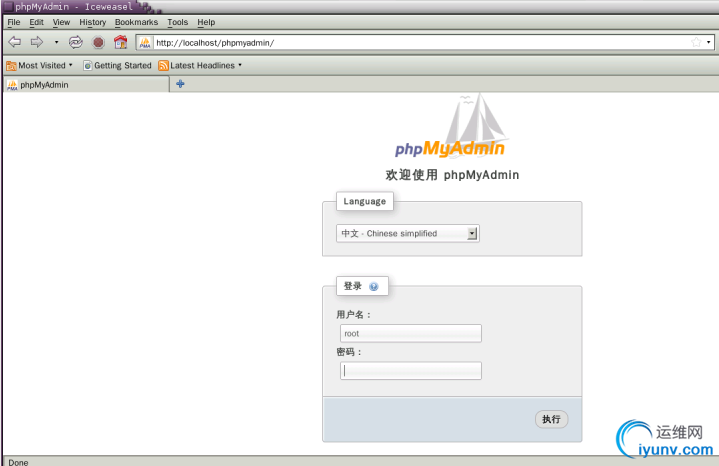
5.重启apache服务(sudo /etc/init.d/apache2 restart),浏览器地址栏输入http://localhost/phpmyadmin,显示如下:

说明phpmyadmin安装成功。
到此,LAMP平台搭建完毕。可以根据需要,修改各应用的配置文件:
apache的配置文件路径:/etc/apache2/apache2.conf
apache网站字符编码配置路径:/etc/apache2/conf.d/charset
php配置文件路径:/etc/php5/apache2/php.ini
mysql配置文件路径:/etc/mysql/my.cnf(建议新手不要轻易使用)
phpmyadmin配置文件路径:/etc/phpmyadmin/apache.conf
二、安装testlink(tarballsize is about 21.7M)
1.到官网http://sourceforge.net,下载testlink源码包(version1.9.3)->解tarball至/var/www/testlink ->改变testlink目录权限:chmod-R 777 /var/www/testlink;
2.打开浏览器,在地址栏中输入http://localhost/testlink并回车,会弹出testlinkinstallation 界面:
单击“Newinstallation”-> 选择“Iagree to the terms set out in this license.”,单击Continue按钮->定义testlinkdatabase name ,输入mysql的admin用户名和密码,定义databaseUser for Testlink access ... -> 单击ProcessTestlink Setup按钮即可。 |
|
|