实验环境 nginx自带的监控介绍 安装zabbix3.0 一、配置yum并安装zabbix3.0 1.1、yum源配置 1.2、安装相关软件 zabbix把数据放到了库里,它支持mysql,centos7之后mysql默认是mariadb 1.3、修改PHP时区配置 二、数据库配置 2.1、启动数据库 2.2、创建zabbix所用的数据库及用户 2.3、修改zabbix配置 2.4、启动zabbix及http 遇到问题,zabbix-server启动失败,httpd启动成功 三、通过浏览器配置zabbix-server
zabbix页面登录和介绍
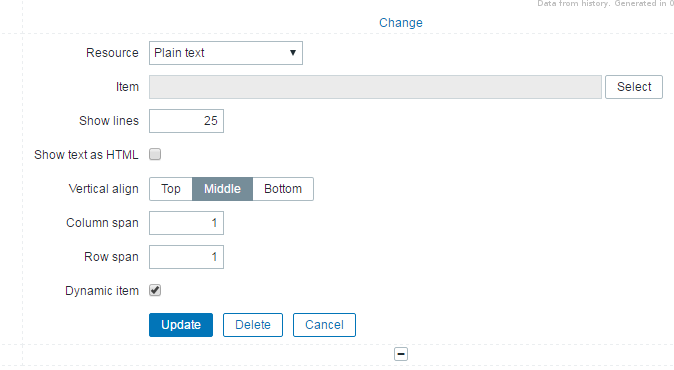
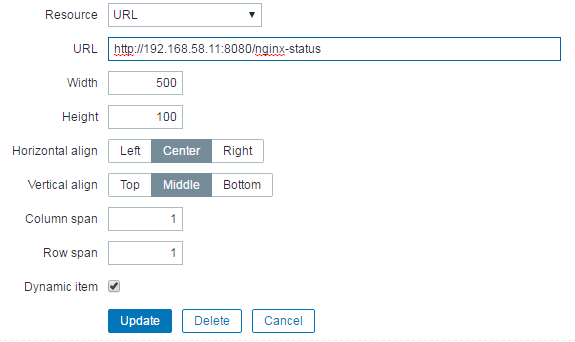
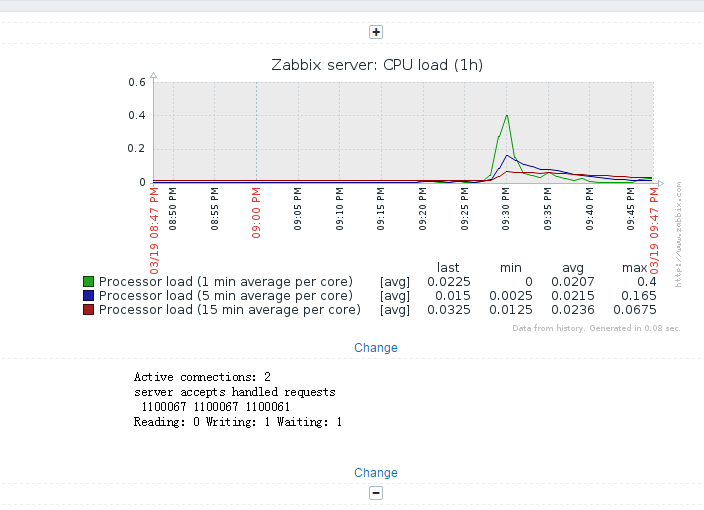
zabbix自定义监控项
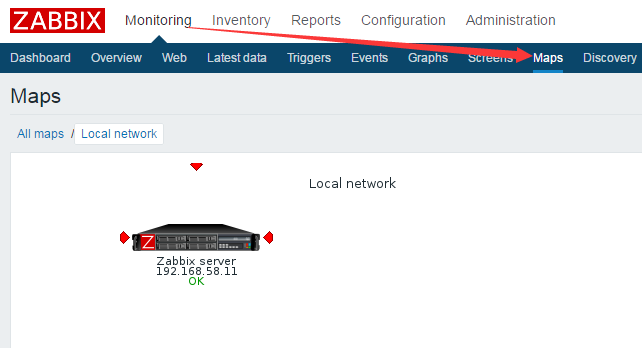
模板这里添加snmp的模板
运维网声明
1、欢迎大家加入本站运维交流群:群②:261659950 群⑤:202807635 群⑦870801961 群⑧679858003运维网
 QQ群⑧:
QQ群⑧:


 窥视卡
窥视卡 雷达卡
雷达卡 发表于 2017-6-10 09:49:27


 提升卡
提升卡 置顶卡
置顶卡 沉默卡
沉默卡 喧嚣卡
喧嚣卡 变色卡
变色卡 千斤顶
千斤顶 显身卡
显身卡