|
|
1.GITLAB介绍
一个基于GIT的源码托管解决方案
基于Ruby on rails开发
集成了nginx postgreSQL redis sidekiq等组件
2. 资源
官网:https://about.gitlab.com/downloads
清华镜像:https://mirrors.tuna.tsinghua.edu.cn/gitlab-ce/yum/el7/
3.安装环境要求
虚拟机centos7 64位
内存2G+
安装版本gitlab_ce_9.0.4
4.安装依赖
sudo yum install curl policycoreutils openssh-server openssh-clients
sudo systemctl enable sshd
sudo systemctl start sshd
sudo yum install postfix
sudo systemctl enable postfix
sudo systemctl start postfix
sudo firewall-cmd --permanent --add-service=http
sudo systemctl>
5.执行安装
rpm -ivh gitlab-ce-8.9.5-ce.0.el7.x86_64.rpm
# 修改配置文件
vim /etc/gitlab/gitlab.rb
external_url 'your_ip_address'
例如:
external_url 'http://192.168.152.140'
# 配置
gitlab-ctl reconfigure
# 访问
http://your_ip_address
6.常用命令
gitlab-ctl status 查看状态
gitlab-ctl start
gitlab-ctl stop
gitlab-ctl restart
gitlab-ctl tail nginx 查看日志
7.Gitlab组件
nginx:静态Web服务器
gitlab-shell:用于处理Git命令和修改authorized keys列表
gitlab-workhorse:轻量级的反向代理服务器
logrotate:日志文件管理工具
postgresql:数据库
redis:缓存数据库
sidekiq:用于在后台执行队列任务(异步执行)
unicorn:GitLab Rails应用是托管在这个服务器上面的。
8.目录
/var/opt/gitlab/git-data/repositories/:库默认存储目录
/opt/gitlab:应用代码和相应的依赖程序
/var/opt/gitlab:gitlab-ctl reconfigure命令编译后的应用数据和配置文件,不需要人为修改配置
/etc/gitlab:配置文件目录
/var/log/gitlab:此目录下存放了gitlab各个组件产生的日志
/var/opt/gitlab/backups/:备份文件生成的目录
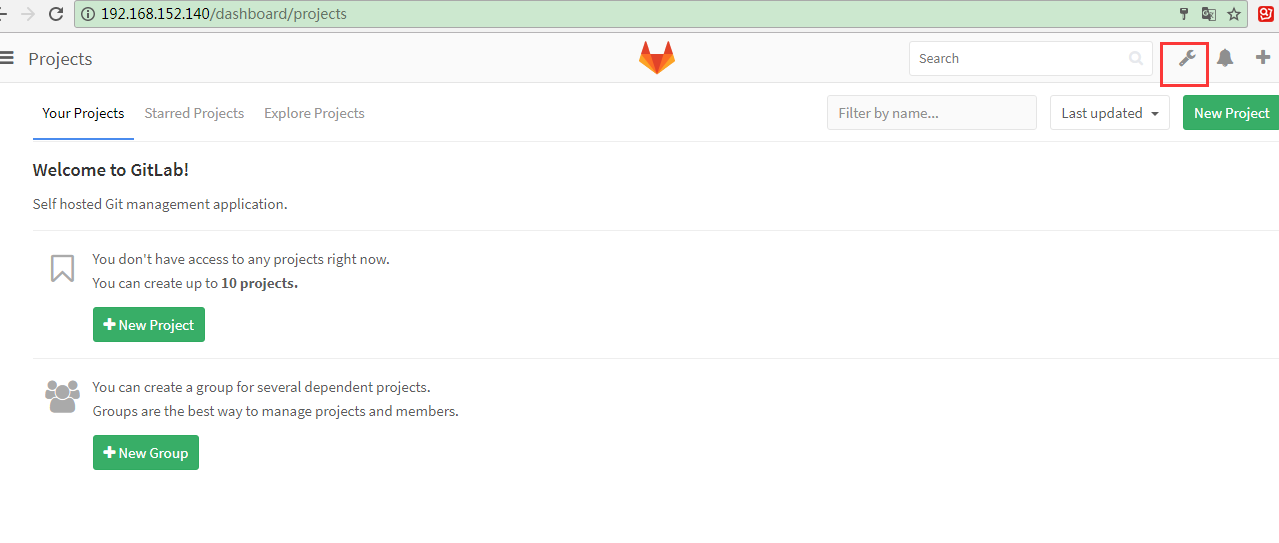
9.变更主配置文件
需要以下操作
1、gitlab-ctl reconfigure 重置配置文件
2、gitlab-ctl show-config 验证配置文件
3、gitlab-ctl restart 重启gitlab服务
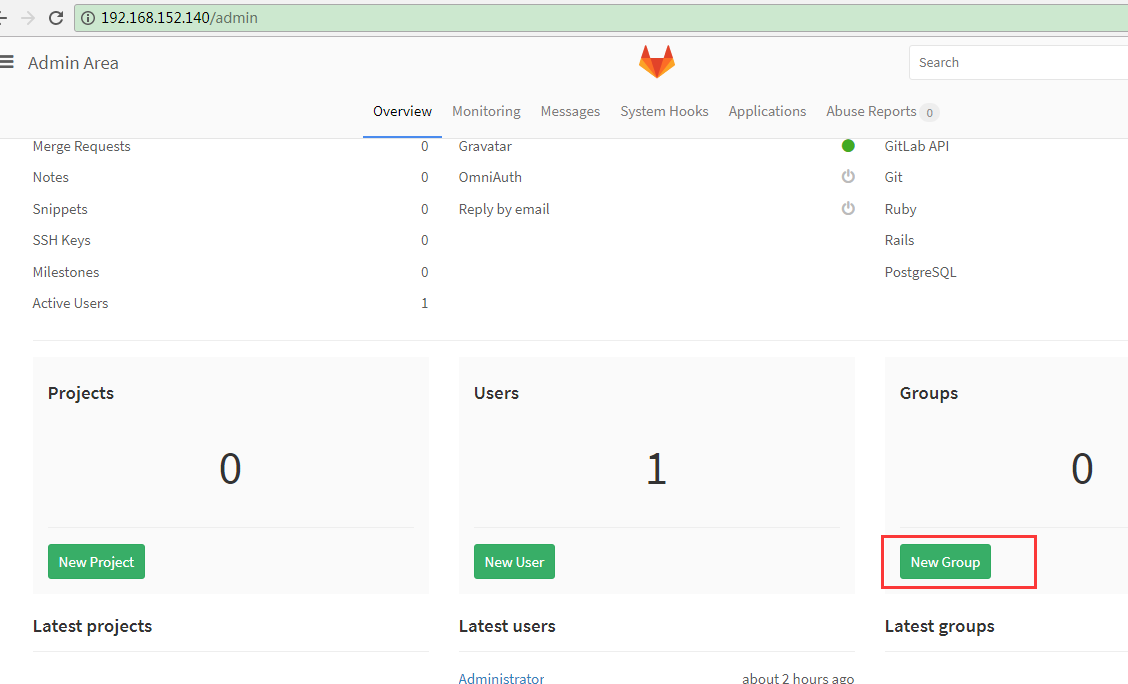
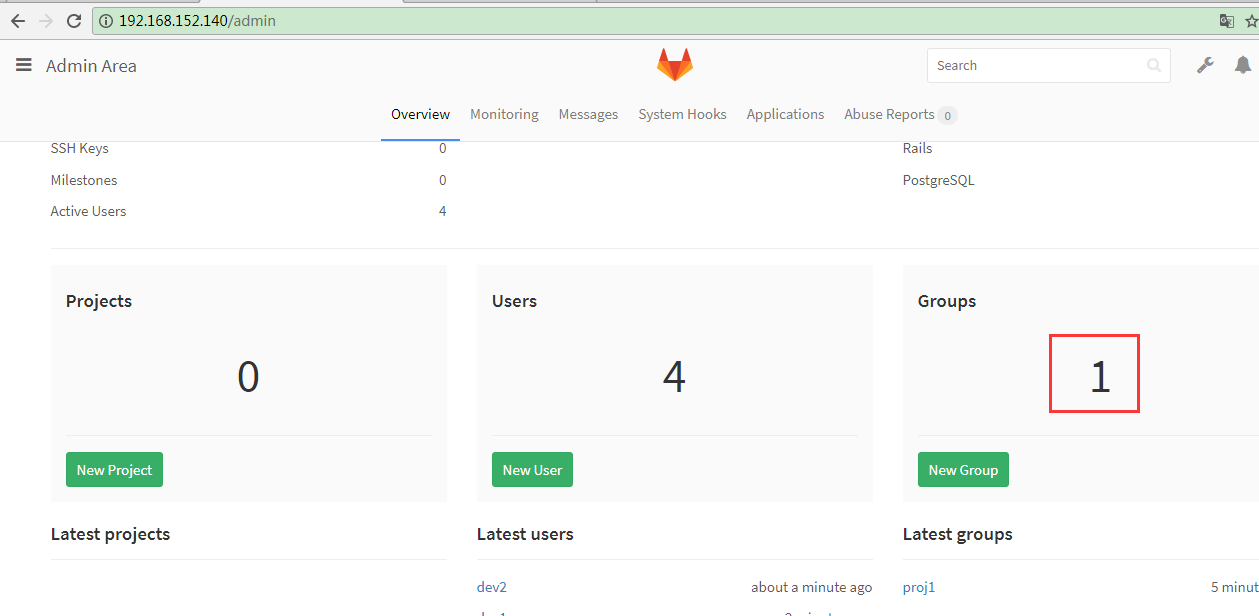
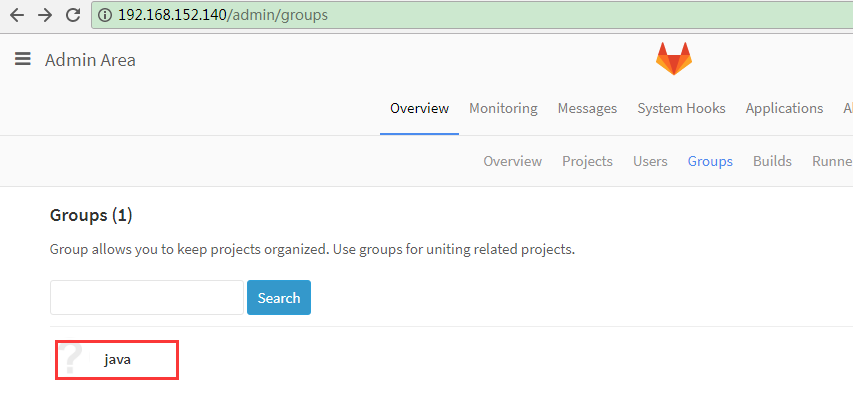
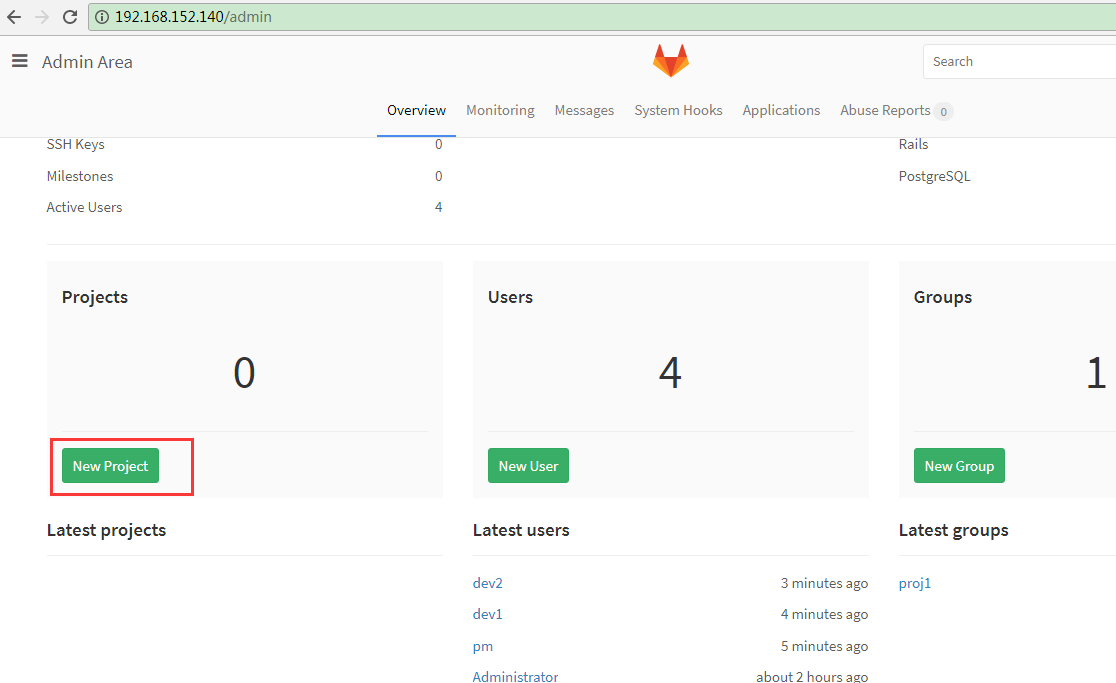
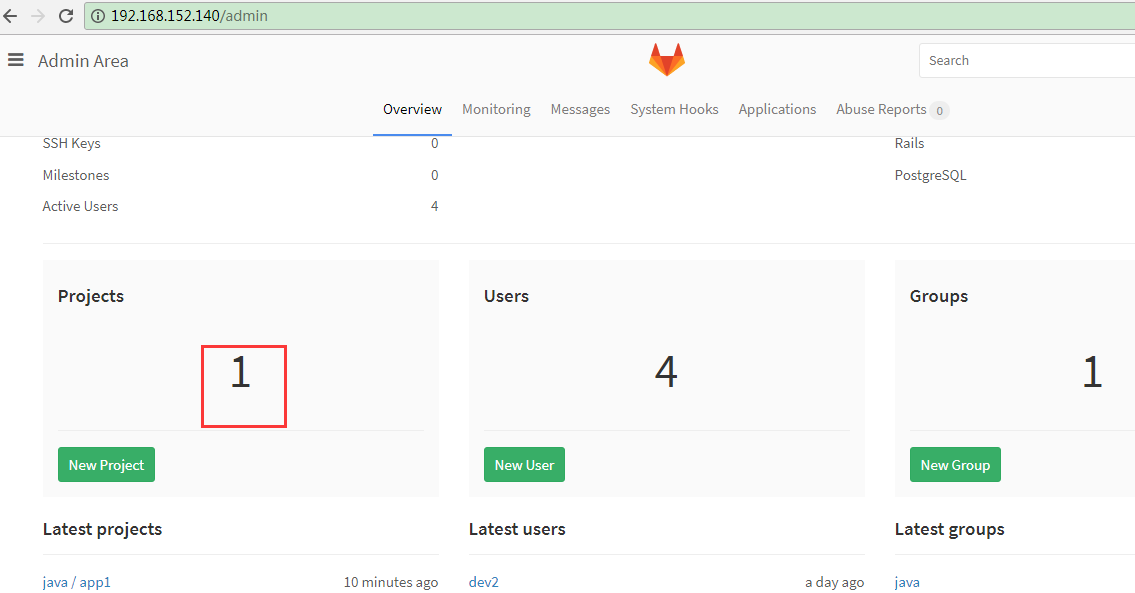
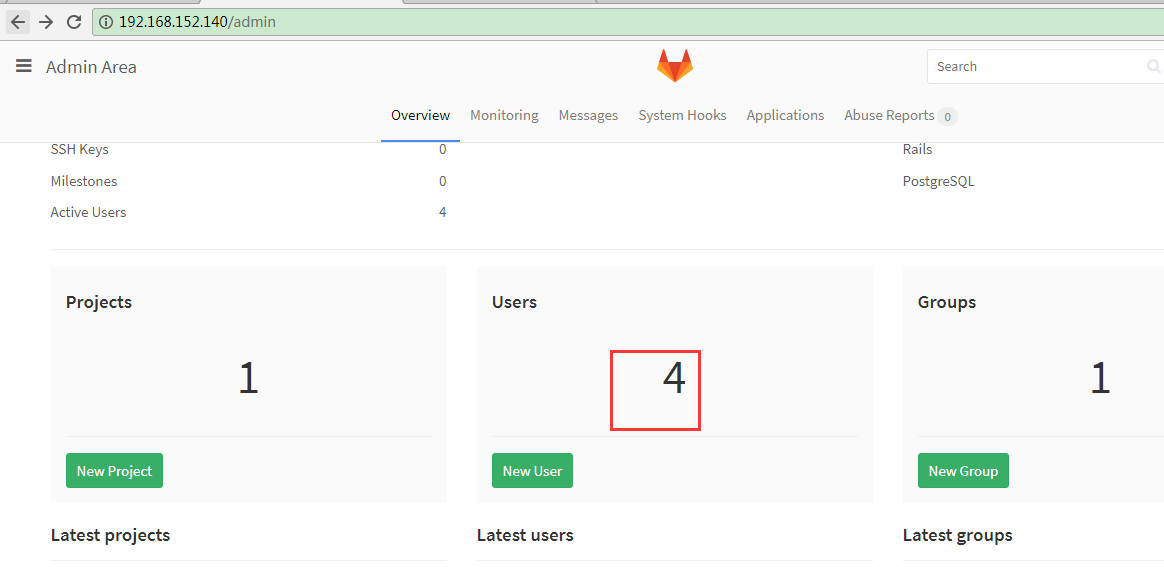
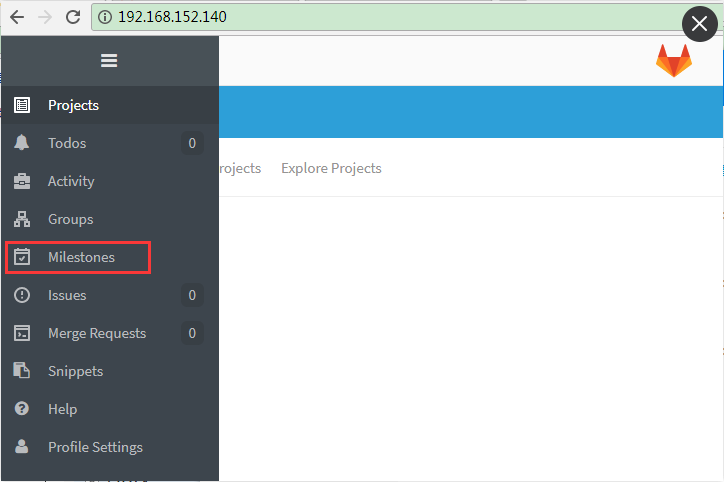
10.创建对象
创建gourps
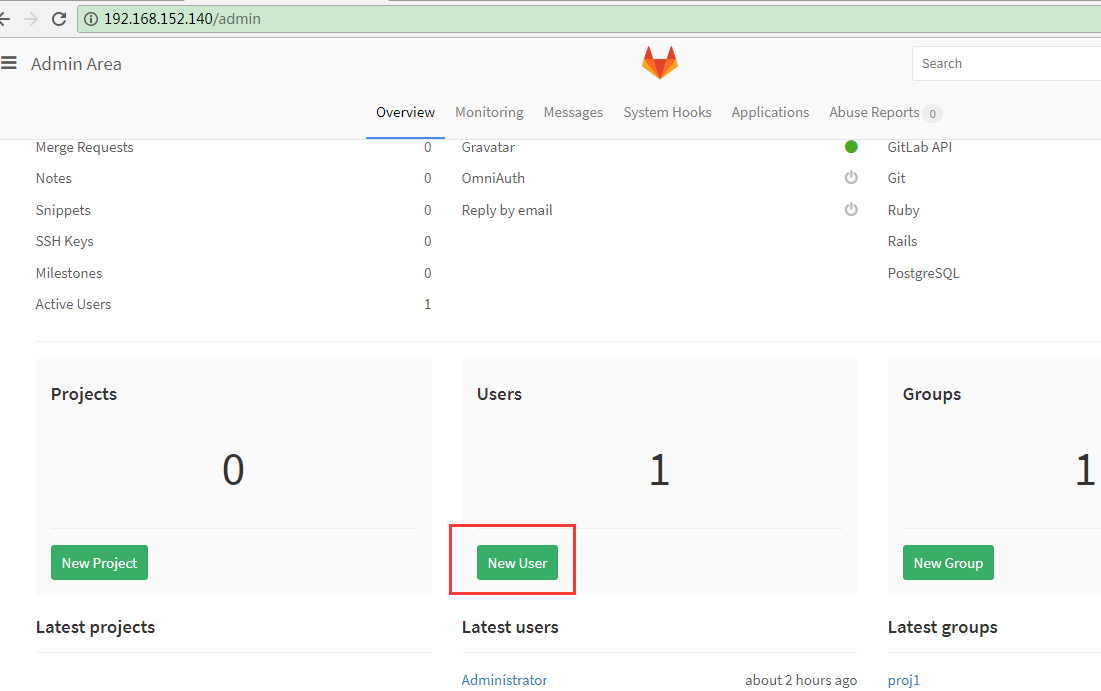
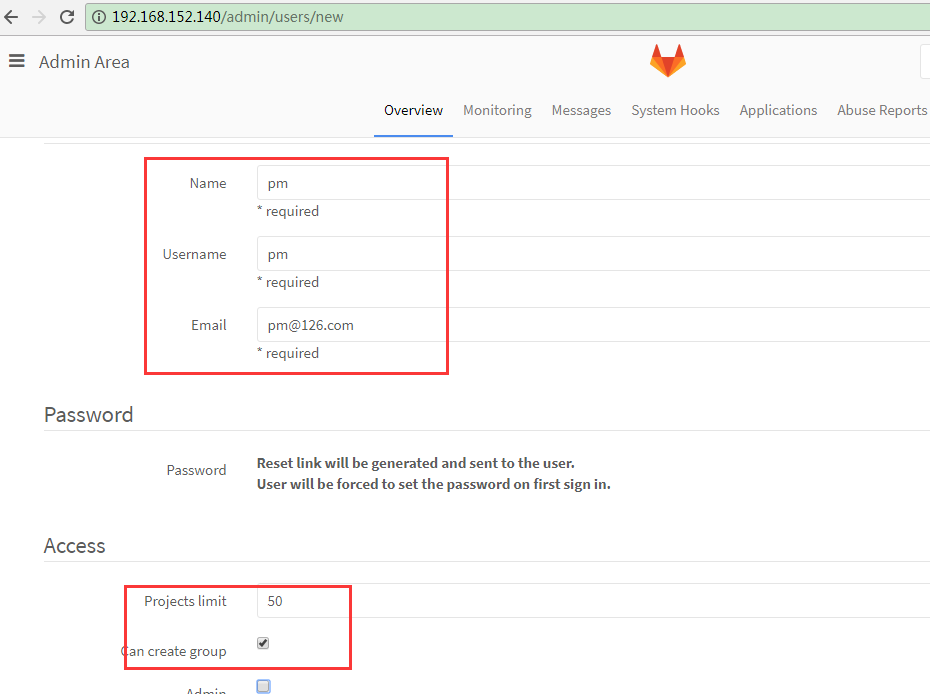
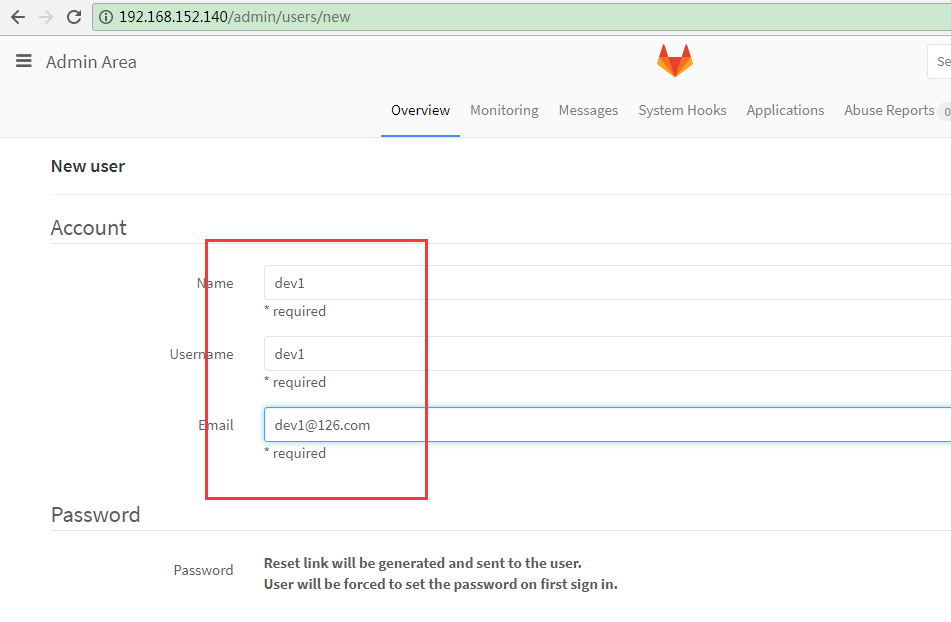
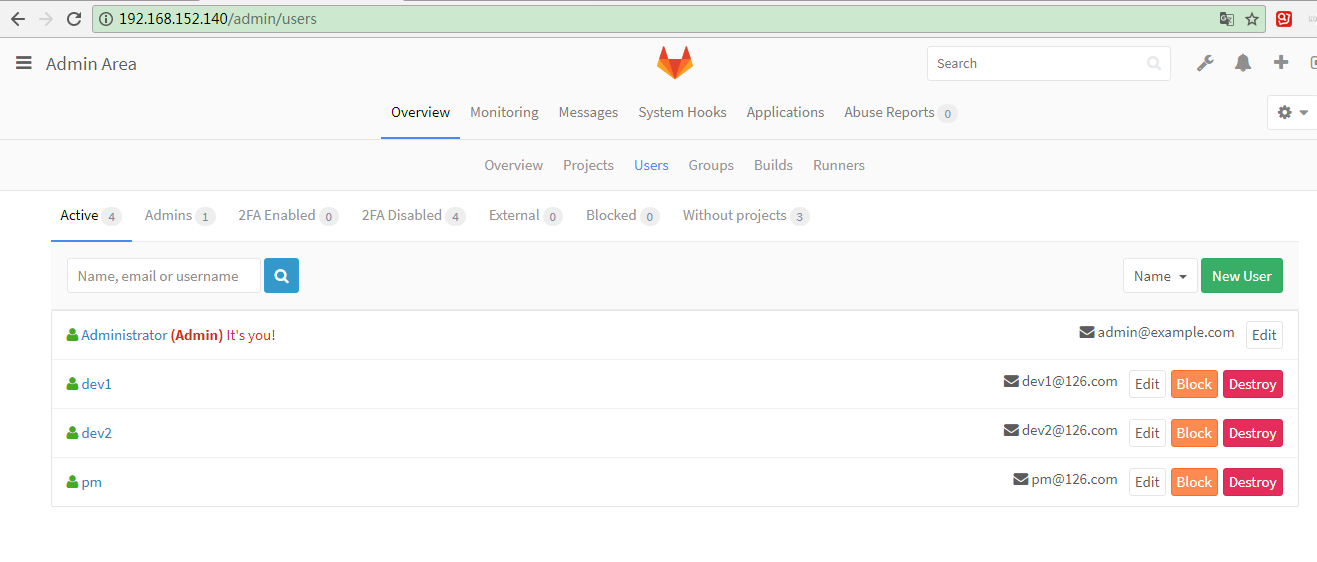
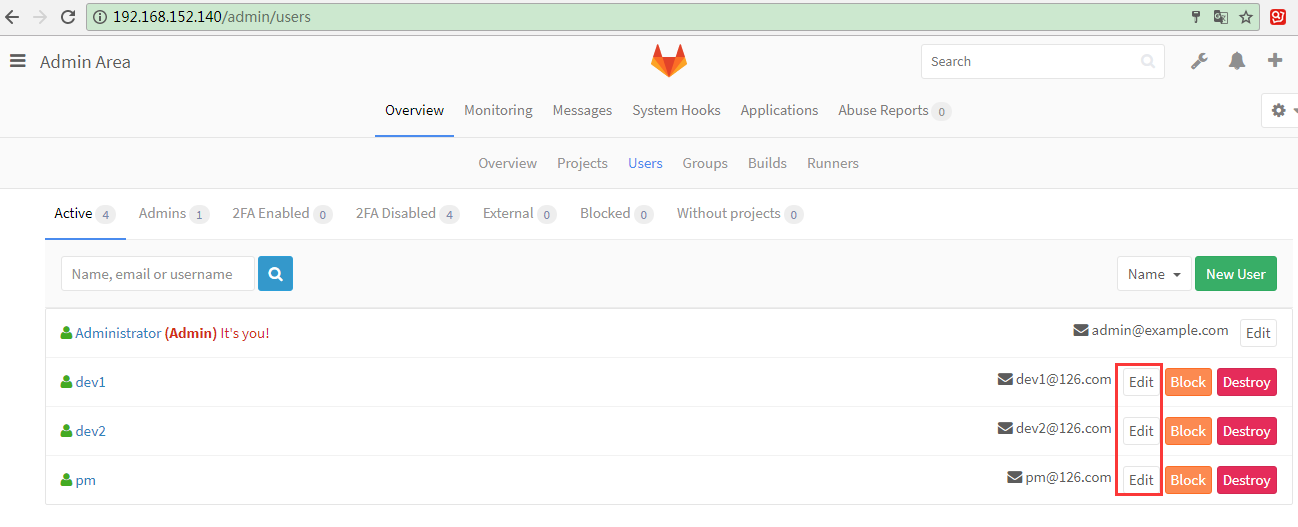
创建用户
创建项目
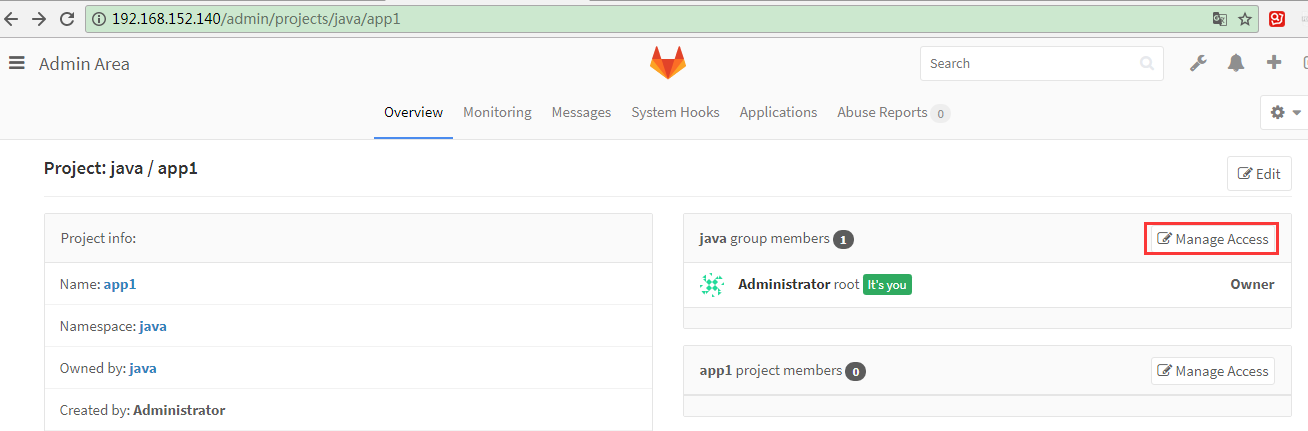
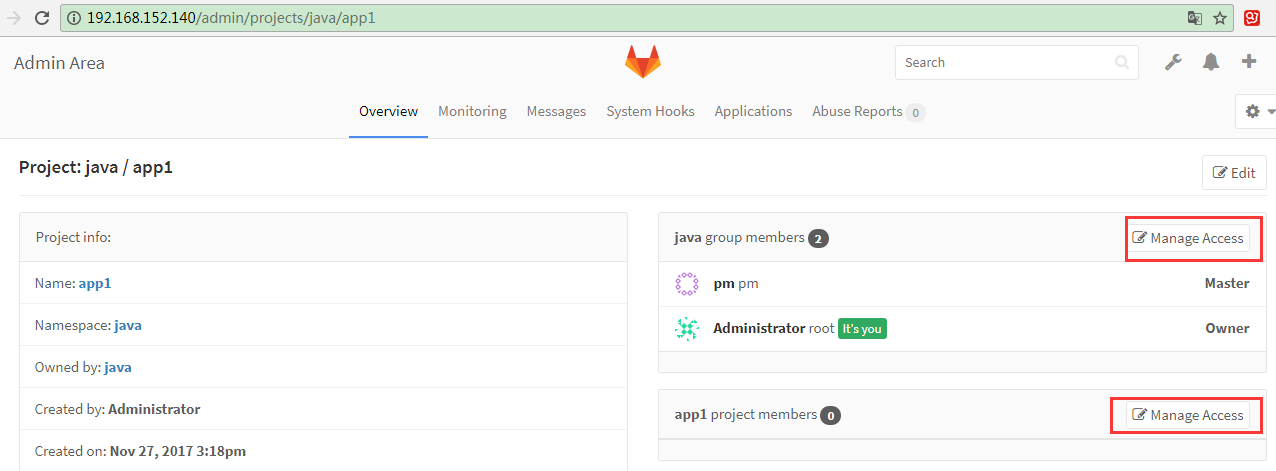
授权项目用户
创建组:
创建用户:
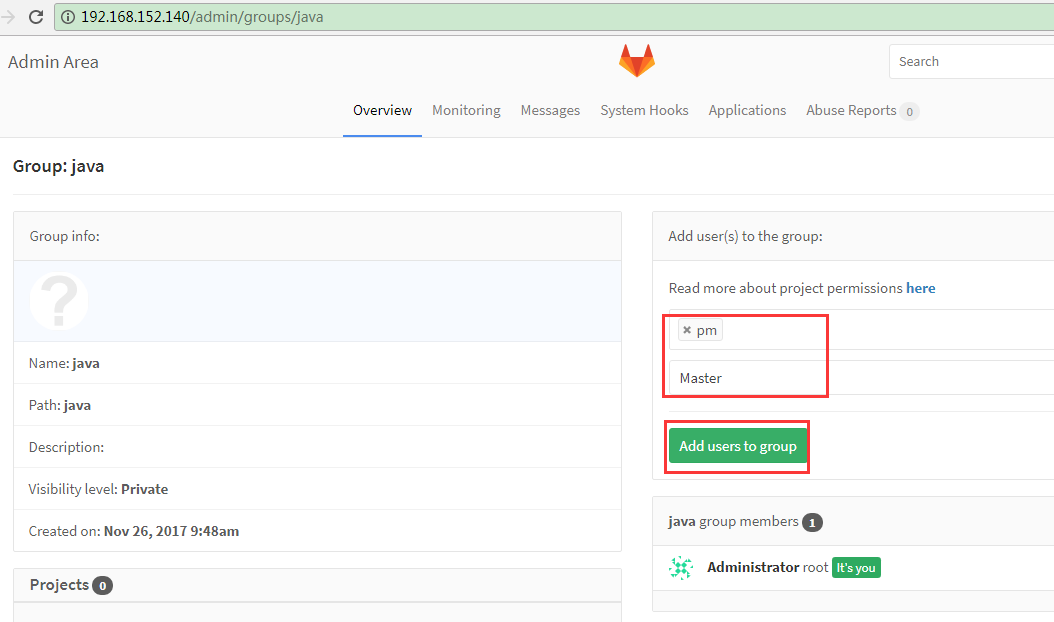
把用户加进组:
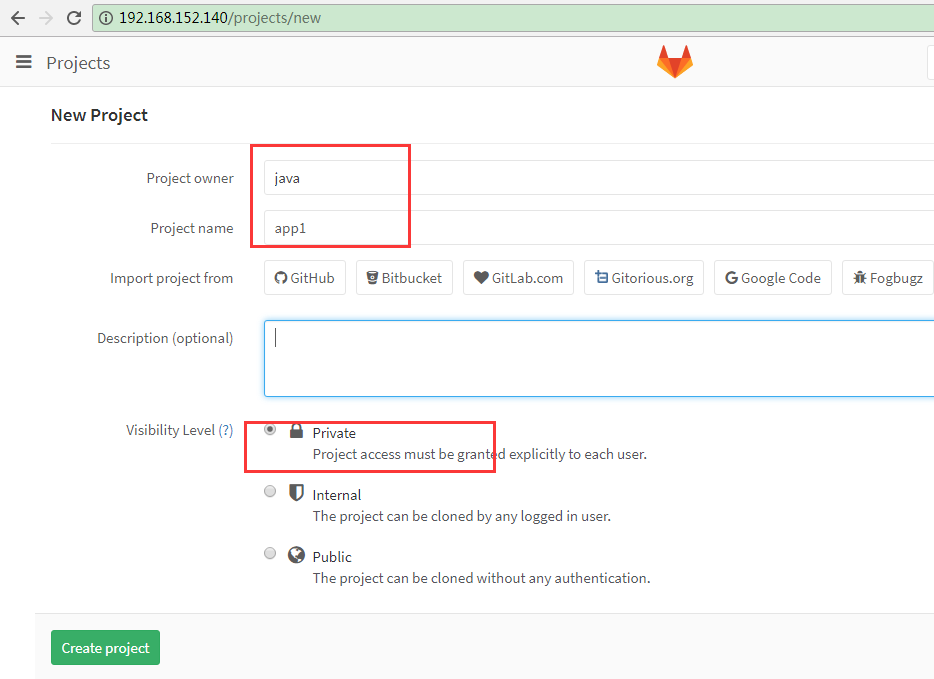
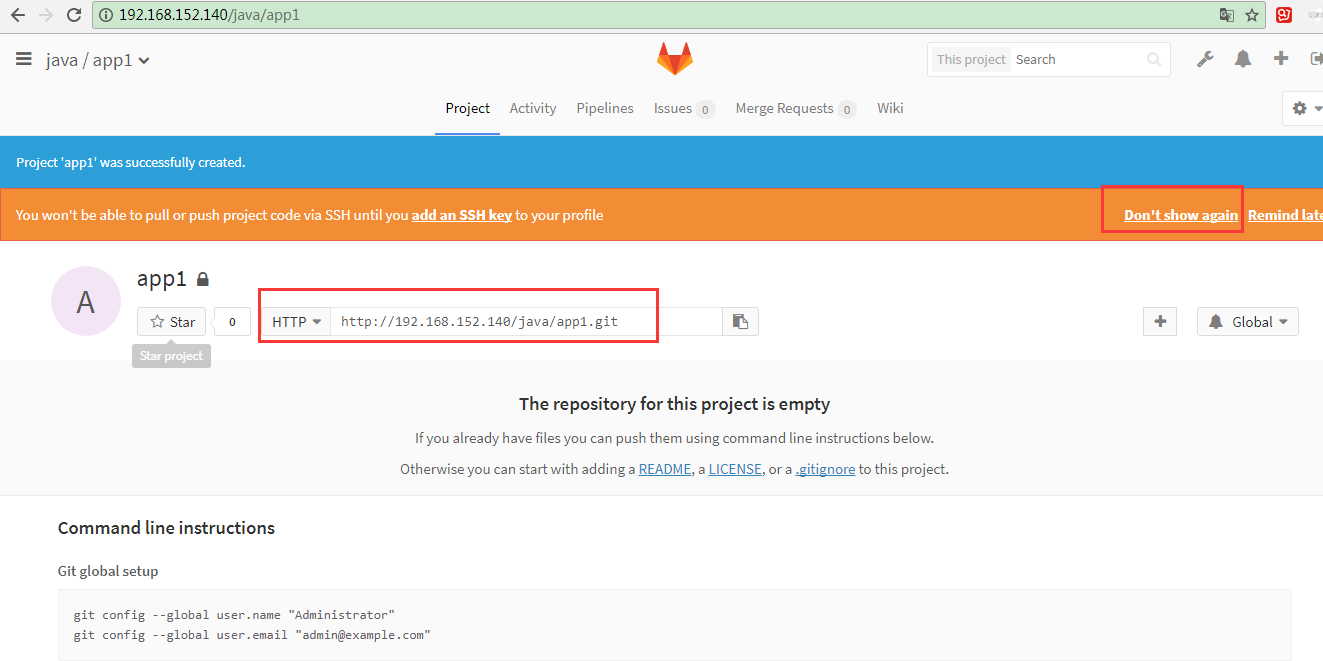
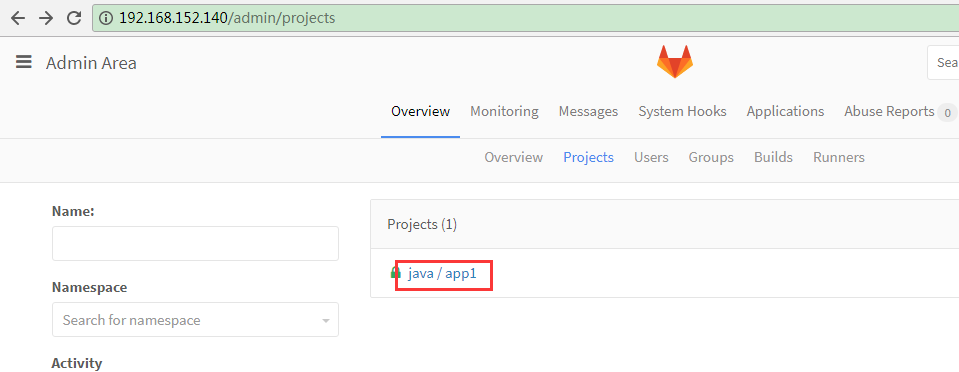
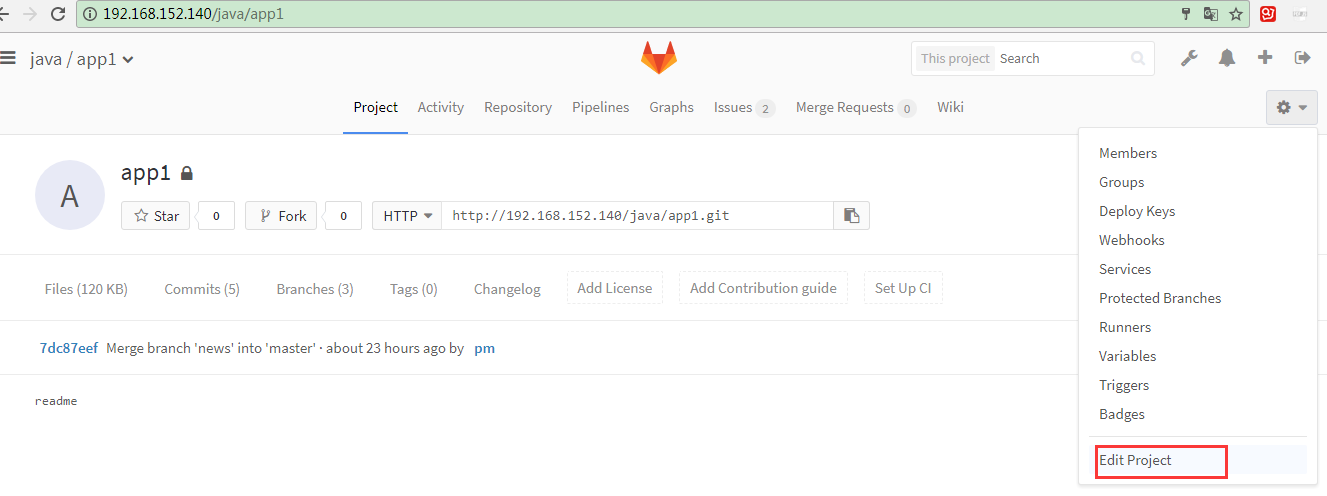
创建项目:
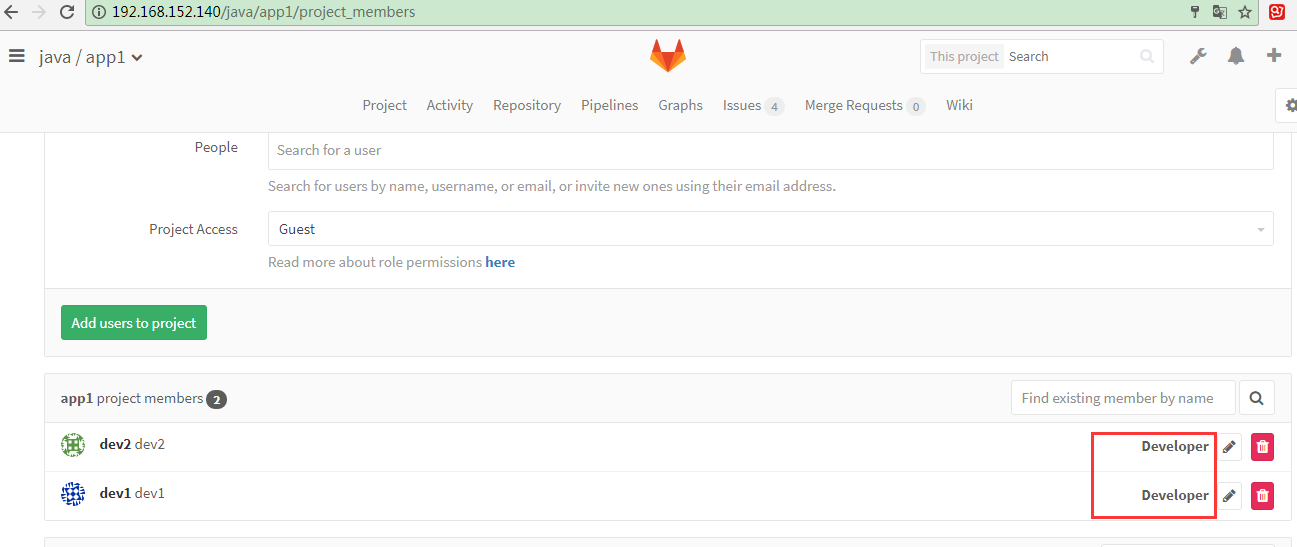
授权项目用户:
属于开发者得KEY
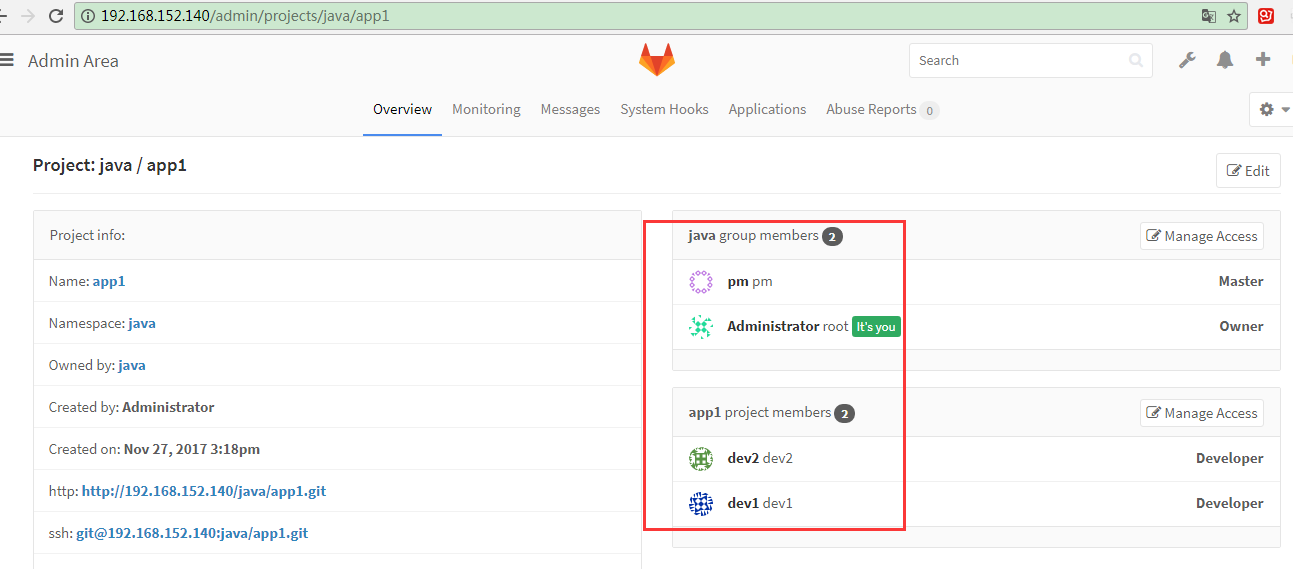
添加用户到项目中,有两种方式:
既可以在组里添加,也可以再项目中添加,在组中添加会继承到项目中,在项目中添加跟组没关联。
一个是针对组,一个是针对项目。
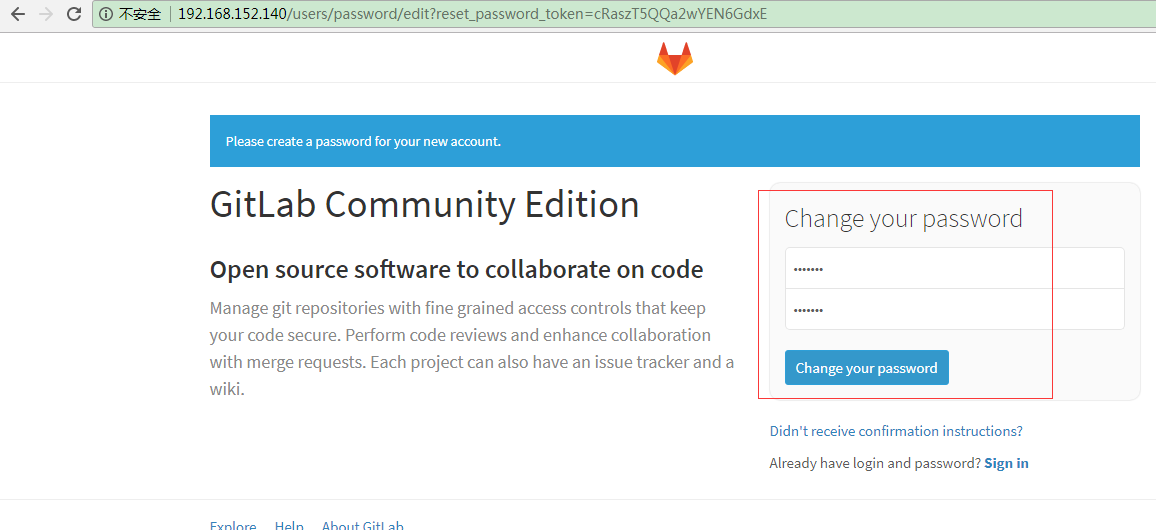
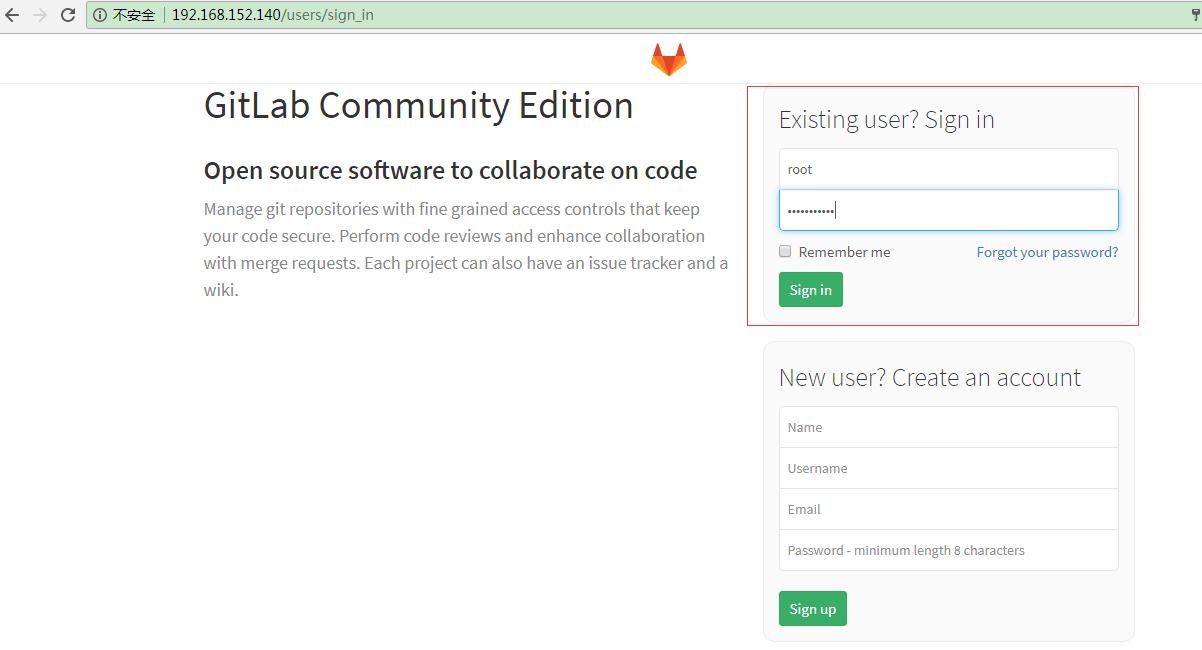
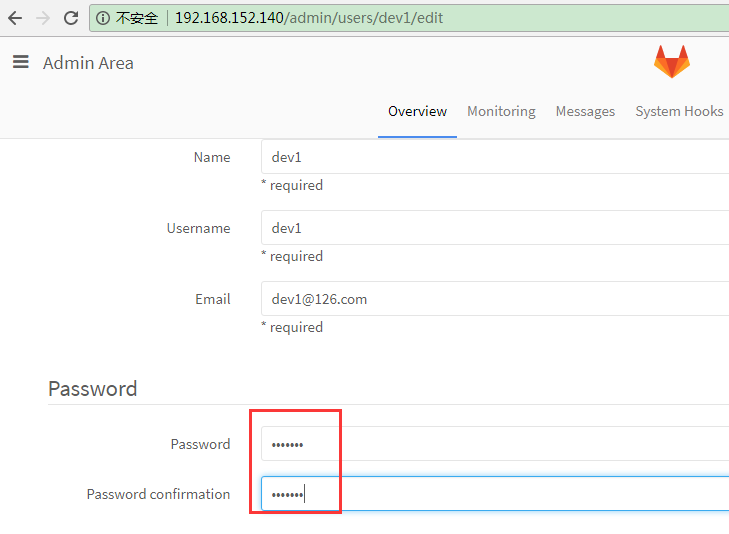
由于dev1和dev2没有密码,需要设置初始密码,接入LDAP(统一账号管理)后就不需要此low b 过程了:
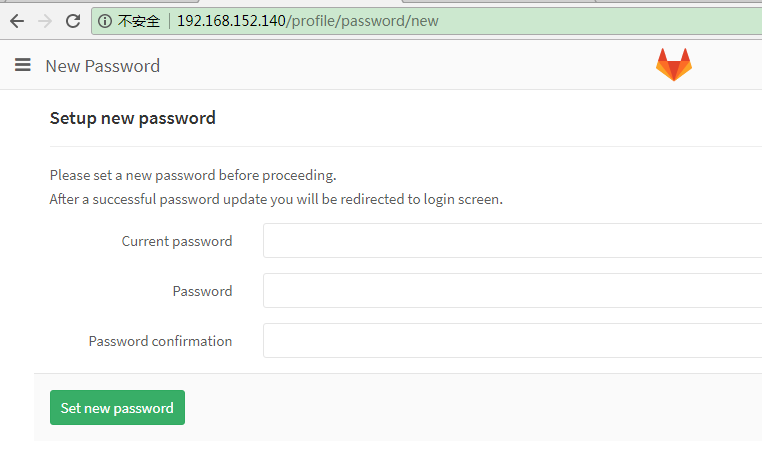
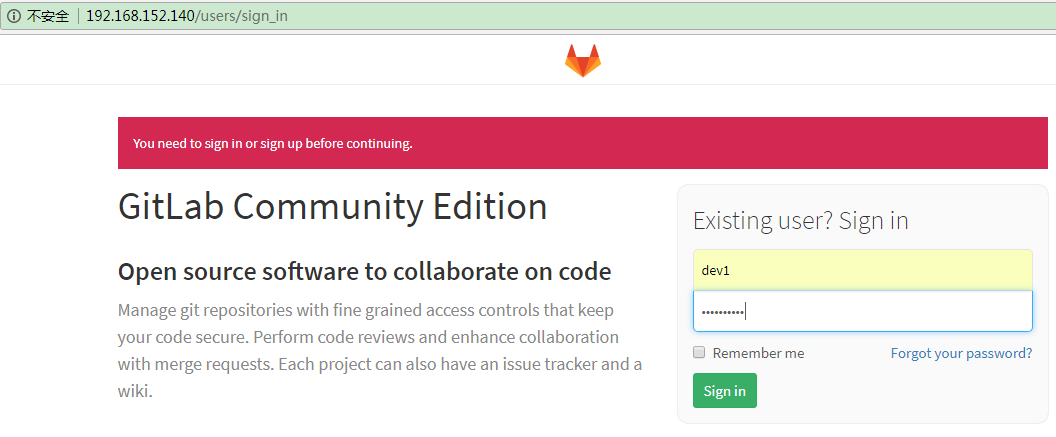
再次登录时,会提示重置密码:
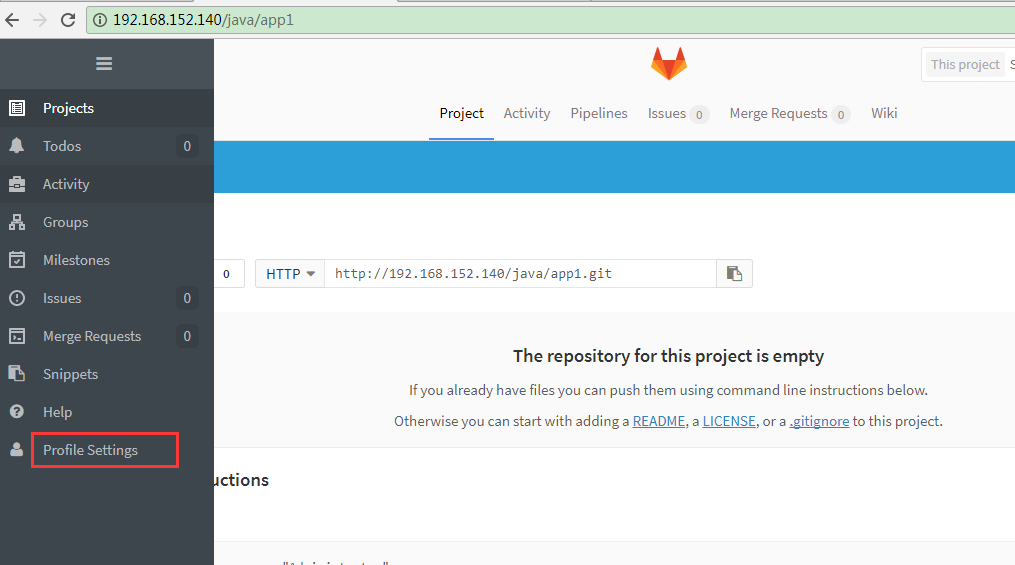
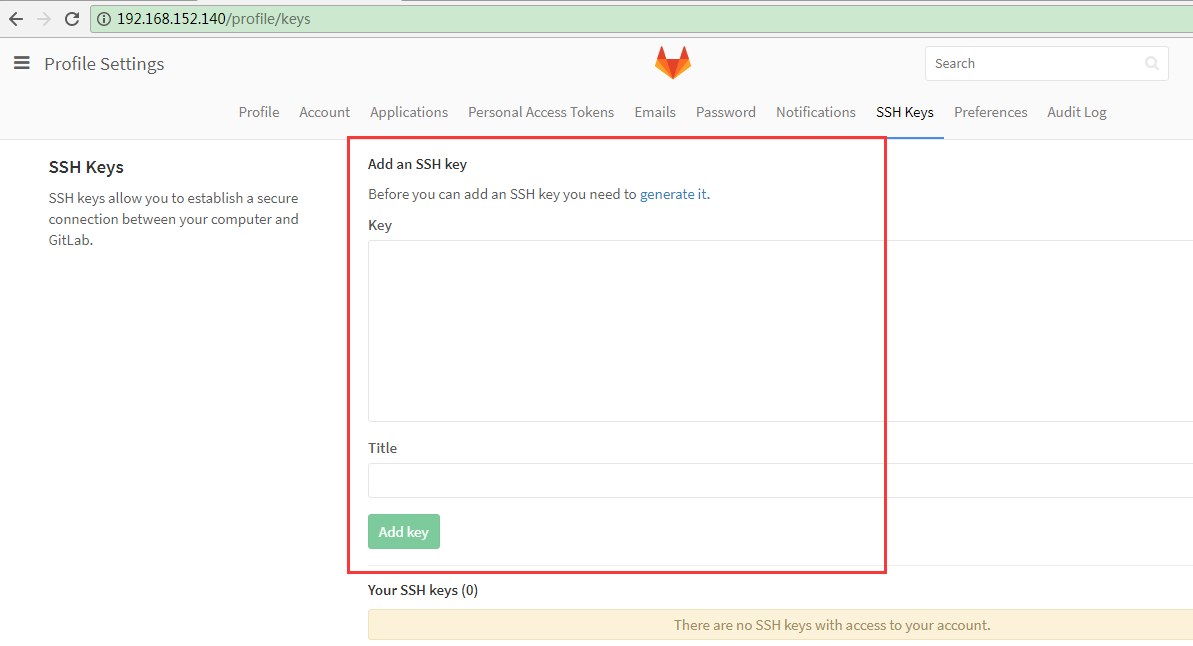
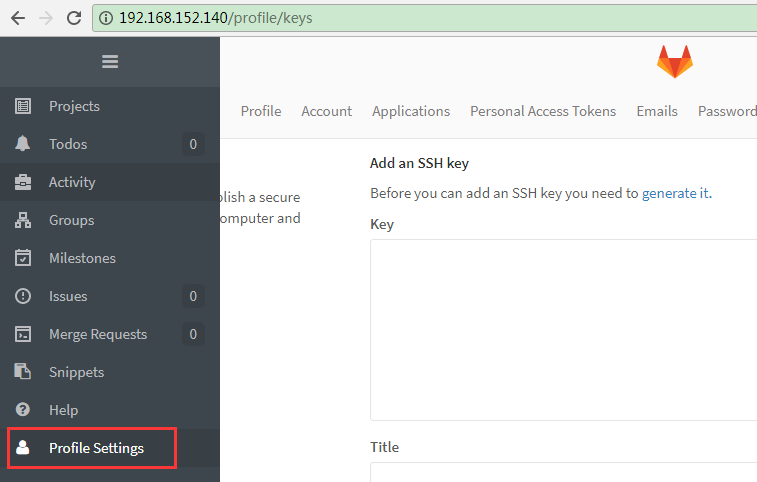
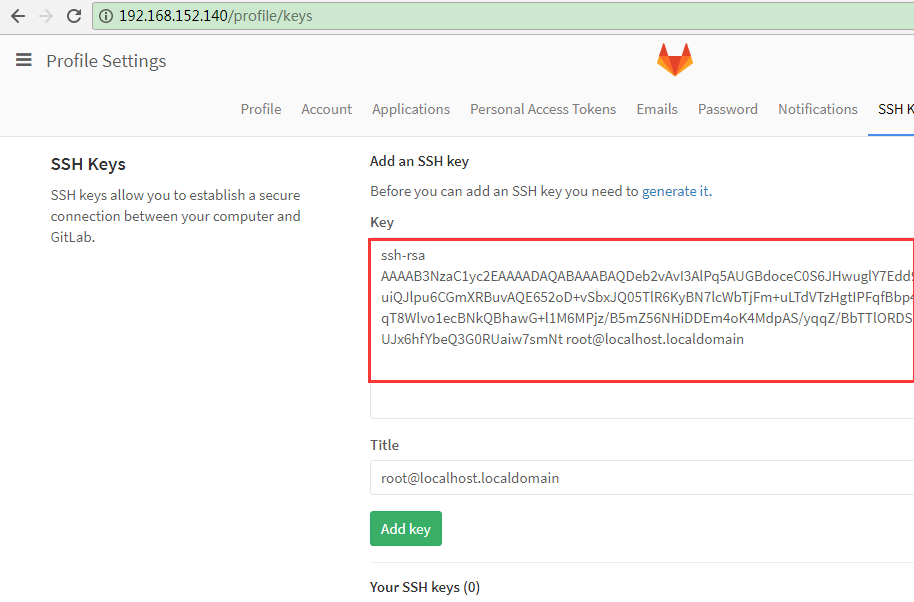
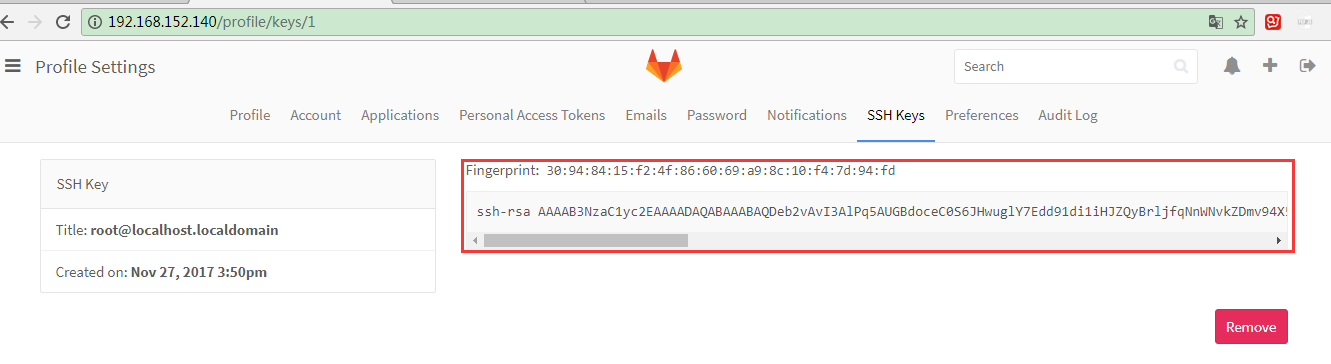
添加SSH key
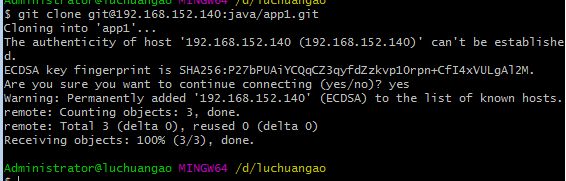
此时再次ssh clone代码,现在把权限给打通了:
[iyunv@localhost ~]# git clone git@192.168.152.140:java/app1.git
Cloning into 'app1'...
warning: You appear to have cloned an empty repository.
[iyunv@localhost ~]# ll
total 0
drwxr-xr-x 3 root root 18 Nov 27 23:57 app1
[iyunv@localhost ~]#
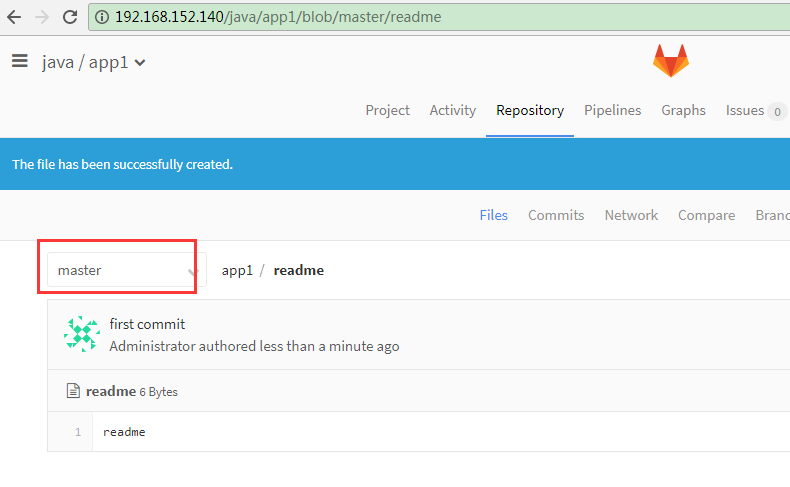
创建分支:
主分支已创建:
拉分支:
[iyunv@localhost ~]# cd app1/
[iyunv@localhost app1]# git pull
remote: Counting objects: 3, done.
remote: Total 3 (delta 0), reused 0 (delta 0)
Unpacking objects: 100% (3/3), done.
From 192.168.152.140:java/app1
* [new branch] master -> origin/master
[iyunv@localhost app1]# ll
total 4
-rw-r--r-- 1 root root 6 Nov 28 00:10 readme
[iyunv@localhost app1]#
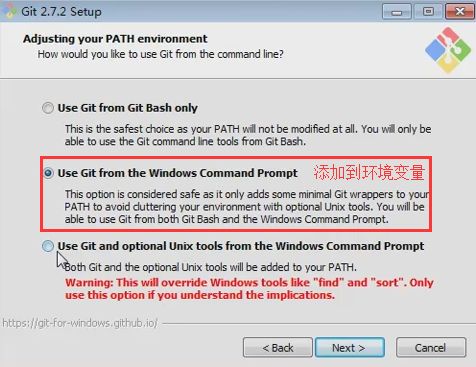
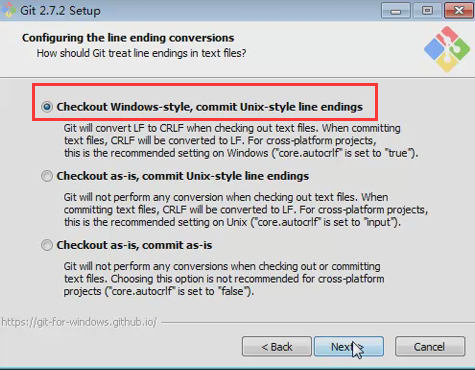
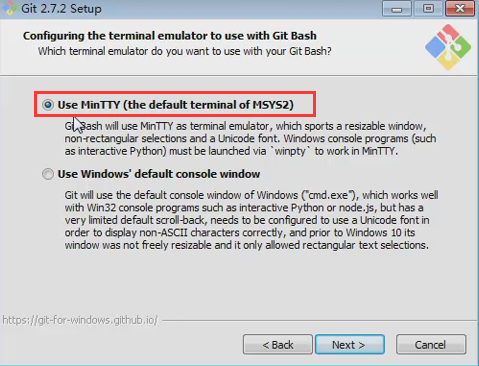
11.安装git windows客户端,并授权
使用dev2登录,把ssh key加入:
Windows客户端也可以了:
以上操作都是个人SSH KEY。
12.SSH KEY管理
个人SSH KEY
Deploy KEY
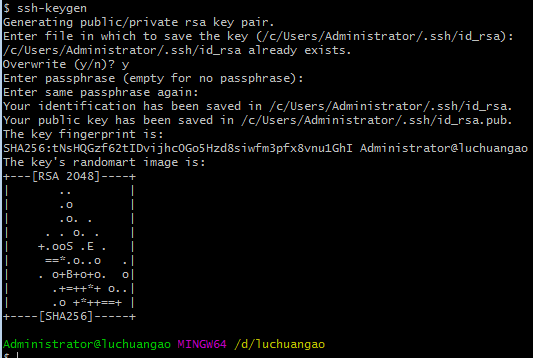
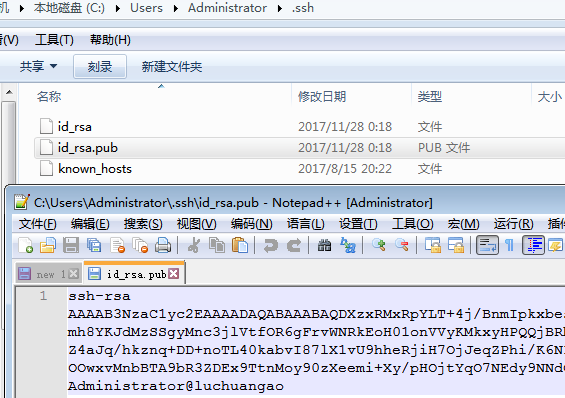
创建SSH KEY
将公钥导入用户SSHKEY
创建deploy key
将deploy key导入gitlab并在项目中允许
ssh key文件全局唯一
开发者KEY:
只能下载代码,不能上传代码,是给jenkins用得。
13.Case
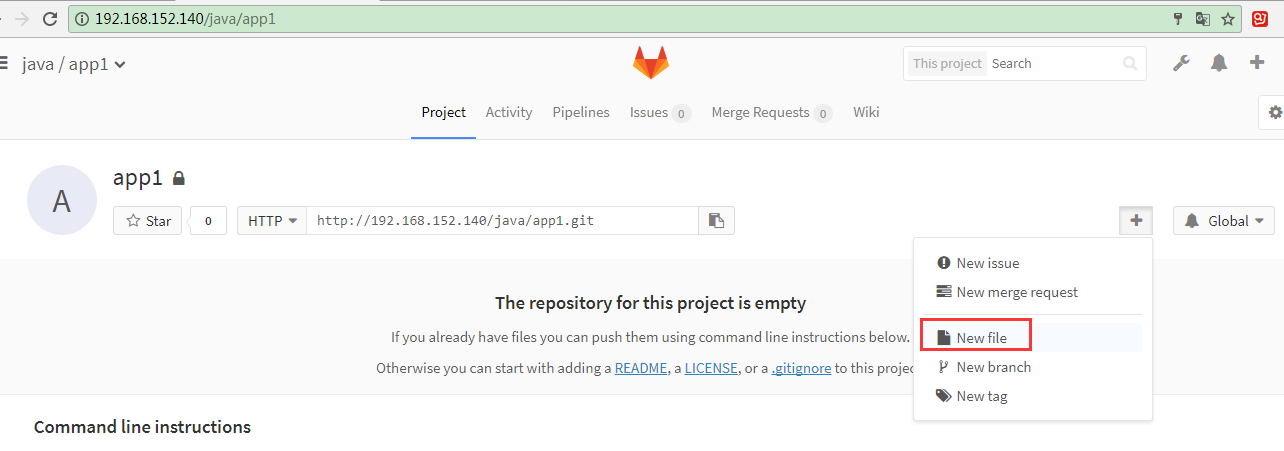
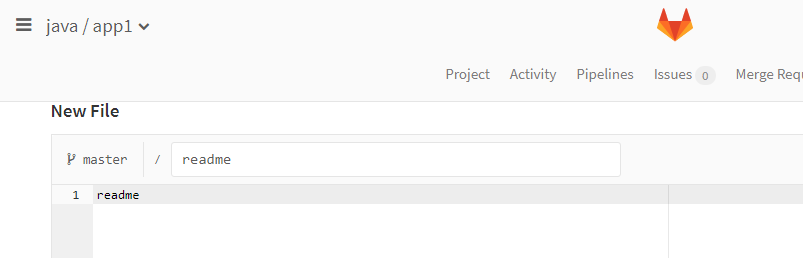
在gitlab上创建一个库
用git上传文件
创建一个分支
在分支上开发
发出merge request
Accept merge
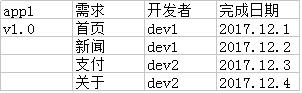
创建一个开发计划:
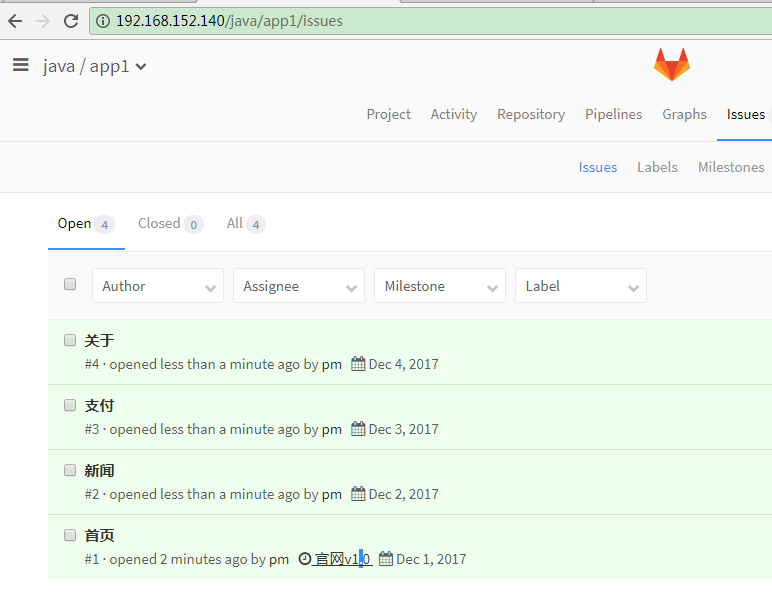
Issue管理:
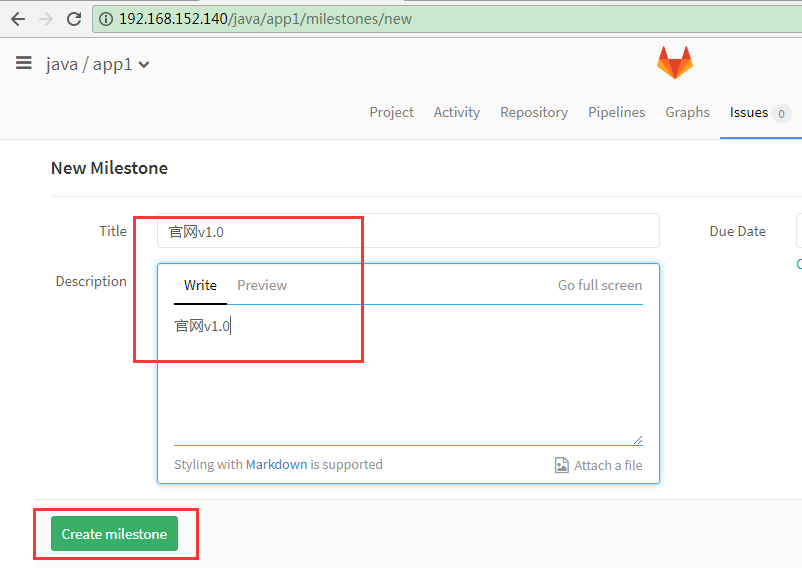
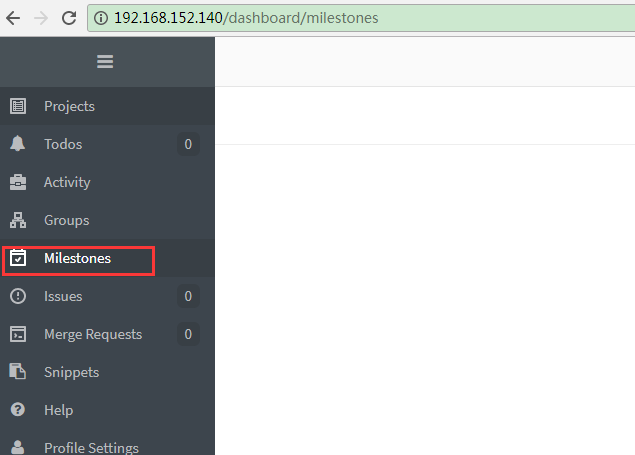
创建milestone
创建issue
创建分支
合并分支
Todos
Fix #issue_id
Close #issue_id
创建里程碑:
创建任务:
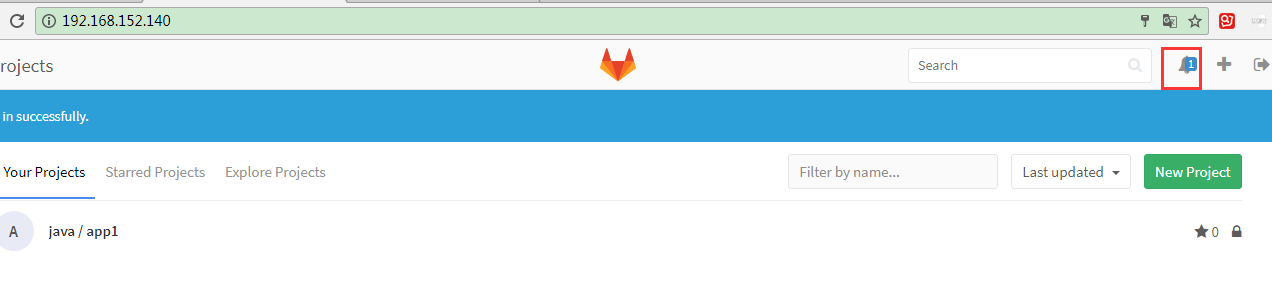
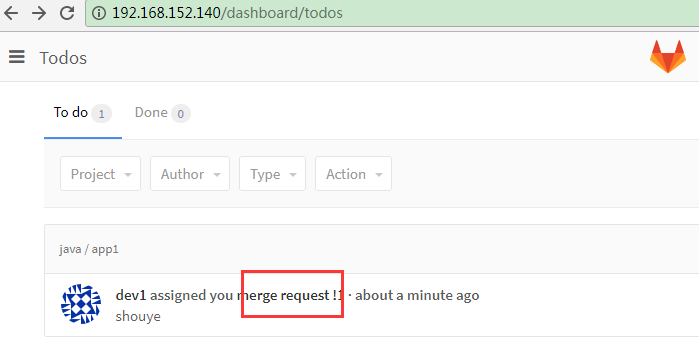
使用dev1登录进去就能看到分配过来得任务:
dev1上传内容:
[iyunv@localhost ~]# cd app1/
[iyunv@localhost app1]# ll
total 4
-rw-r--r-- 1 root root 6 Nov 28 00:10 readme
[iyunv@localhost app1]# git checkout -b shouye
Switched to a new branch 'shouye'
[iyunv@localhost app1]# git status
# On branch shouye
nothing to commit, working directory clean
[iyunv@localhost app1]# echo "<h1>welcome to shenzhen</h1>" > index.html
[iyunv@localhost app1]# git add .
[iyunv@localhost app1]# git commit -m "shouye"
[shouye 3e3d02b] shouye
Committer: root <root@localhost.localdomain>
Your name and email address were configured automatically based
on your username and hostname. Please check that they are accurate.
You can suppress this message by setting them explicitly:
git config --global user.name "Your Name"
git config --global user.email you@example.com
After doing this, you may fix the>
git commit --amend --reset-author
1 file changed, 1 insertion(+)
create mode 100644 index.html
[iyunv@localhost app1]# git config --global user.name "dev1"
[iyunv@localhost app1]# git config --global user.name "dev1@126.com"
[iyunv@localhost app1]# git branch
master
* shouye
[iyunv@localhost app1]# git push origin shouye
Counting objects: 4, done.
Compressing objects: 100% (2/2), done.
Writing objects: 100% (3/3), 297 bytes | 0 bytes/s, done.
Total 3 (delta 0), reused 0 (delta 0)
To git@192.168.152.140:java/app1.git
* [new branch] shouye -> shouye
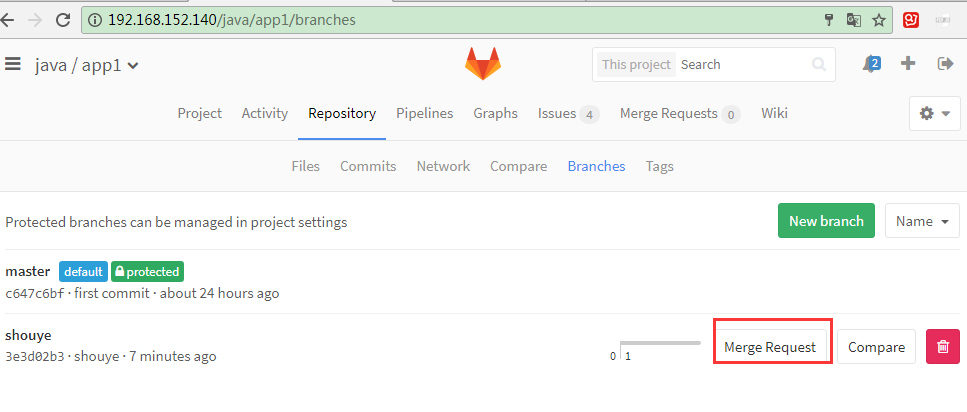
现在有两个分支了:
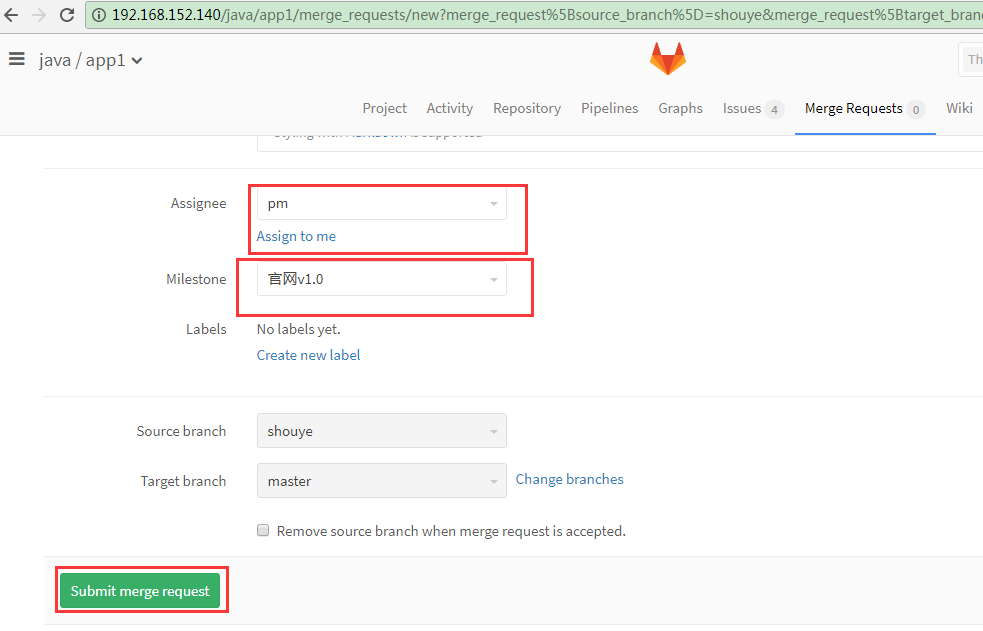
合并分支:
提交:
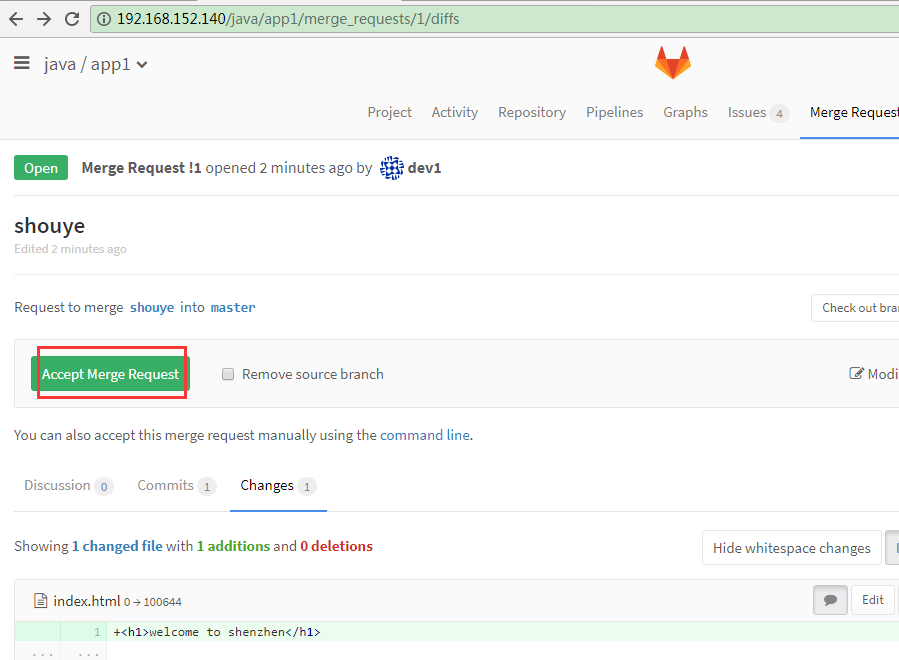
登录pm:
如果没问题,就可以同意执行合并。
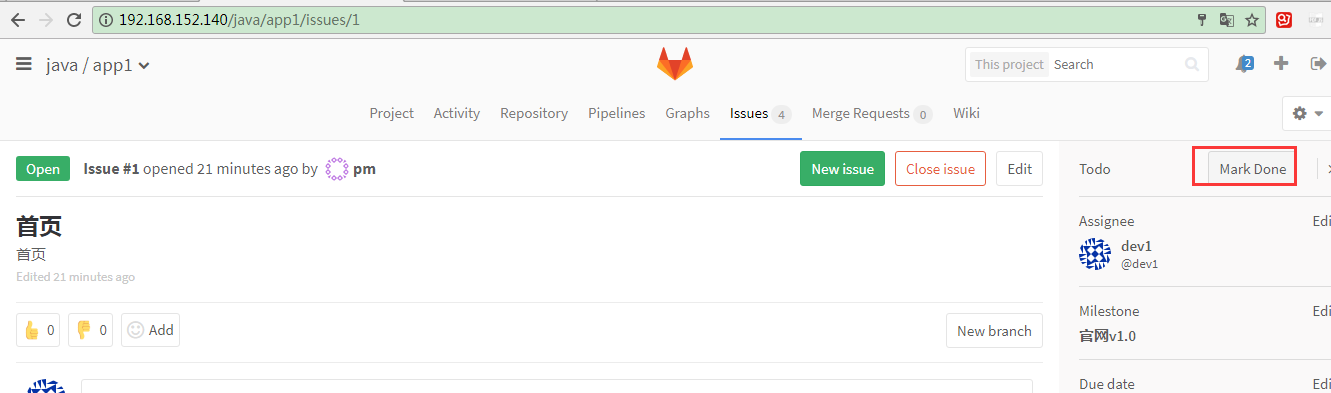
登录dev1,标识任务1已完成:
登录pm,查看进度:
完成后,关闭issues:
把master上代码更新下来:
[iyunv@localhost app1]# git checkout master
Switched to branch 'master'
[iyunv@localhost app1]# git pull
remote: Counting objects: 1, done.
remote: Total 1 (delta 0), reused 0 (delta 0)
Unpacking objects: 100% (1/1), done.
From 192.168.152.140:java/app1
c647c6b..837506a master -> origin/master
Updating c647c6b..837506a
Fast-forward
index.html | 1 +
1 file changed, 1 insertion(+)
create mode 100644 index.html
开发新闻模块:
[iyunv@localhost app1]# git checkout -b news
Switched to a new branch 'news'
[iyunv@localhost app1]# echo 'news center' > news.html
[iyunv@localhost app1]# git add .
[iyunv@localhost app1]# git commit -m 'close #2'
# 使用dev1合并代码,根本合并不成功,没有权限。
[iyunv@localhost app1]# git checkout master
Switched to branch 'master'
[iyunv@localhost app1]# git merge news
Updating 837506a..397b0d0
Fast-forward
news.html | 1 +
1 file changed, 1 insertion(+)
create mode 100644 news.html
[iyunv@localhost app1]# git log
commit 397b0d0221e827a323bb4772965e41489f35ab3f
Author: dev1@126.com <root@localhost.localdomain>
Date: Wed Nov 29 00:23:19 2017 +0800
close #2
commit 837506a1c303433a7e903527bf57cc94c38be816
Merge: c647c6b 3e3d02b
Author: pm <pm@126.com>
Date: Wed Nov 29 00:03:20 2017 +0800
Merge branch 'shouye' into 'master'
shouye
See merge request !1
commit 3e3d02b3681d1b6997caa4b0fcb5488172996474
Author: root <root@localhost.localdomain>
Date: Tue Nov 28 23:49:51 2017 +0800
shouye
commit c647c6bf695887166b3ee9d022c0737f0eb0a6a0
Author: Administrator <admin@example.com>
Date: Tue Nov 28 00:06:48 2017 +0800
first commit
[iyunv@localhost app1]# git push origin master
Counting objects: 4, done.
Compressing objects: 100% (2/2), done.
Writing objects: 100% (3/3), 318 bytes | 0 bytes/s, done.
Total 3 (delta 0), reused 0 (delta 0)
remote: GitLab: You are not allowed to push code to protected branches on this project.
To git@192.168.152.140:java/app1.git
! [remote rejected] master -> master (pre-receive hook declined)
error: failed to push some refs to 'git@192.168.152.140:java/app1.git'
# 只能老实得提交到news分支。
root登录,查看权限:
老老实实提交代码:
[iyunv@localhost app1]# git branch
* master
news
shouye
[iyunv@localhost app1]# git checkout news
Switched to branch 'news'
[iyunv@localhost app1]# git push origin news
Counting objects: 4, done.
Compressing objects: 100% (2/2), done.
Writing objects: 100% (3/3), 318 bytes | 0 bytes/s, done.
Total 3 (delta 0), reused 0 (delta 0)
To git@192.168.152.140:java/app1.git
* [new branch] news -> news
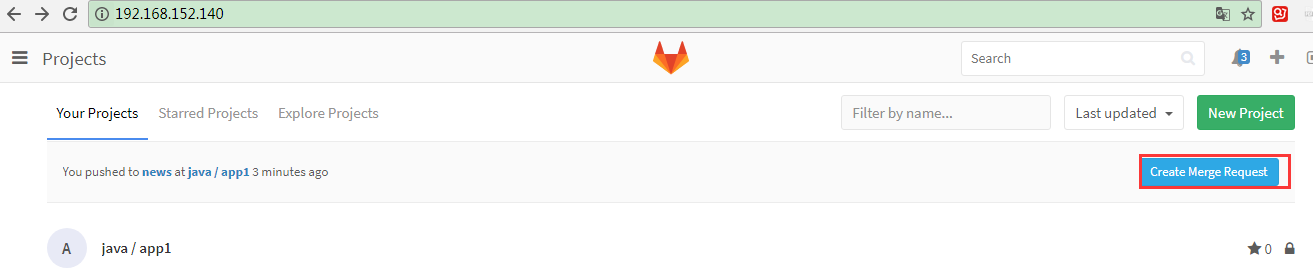
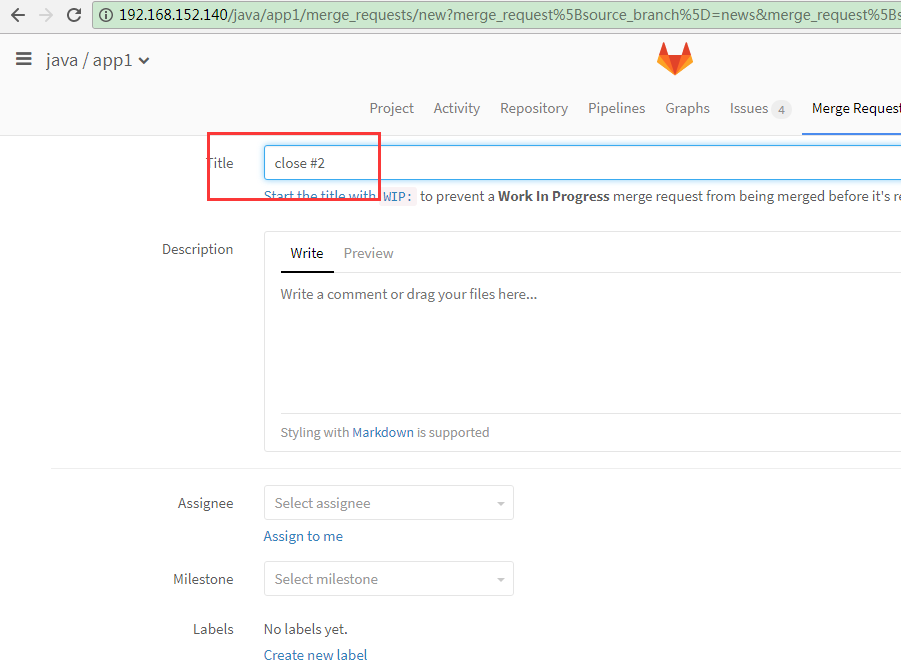
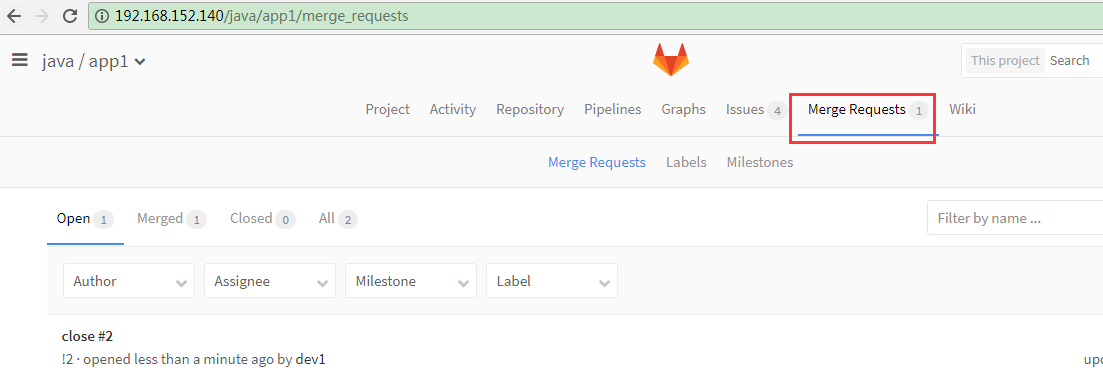
使用dev1登录,创建一个merge request:
不用修改,直接提交:
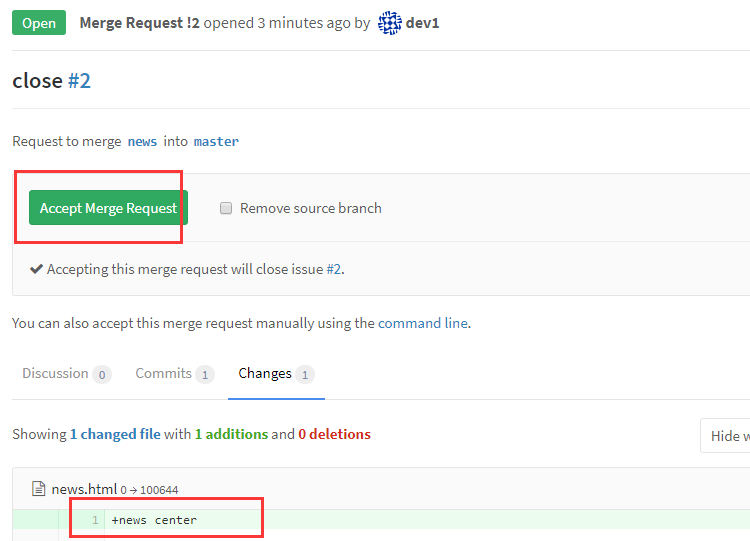
使用pm登录,只有pm有权限:
查看没问题后,同意:
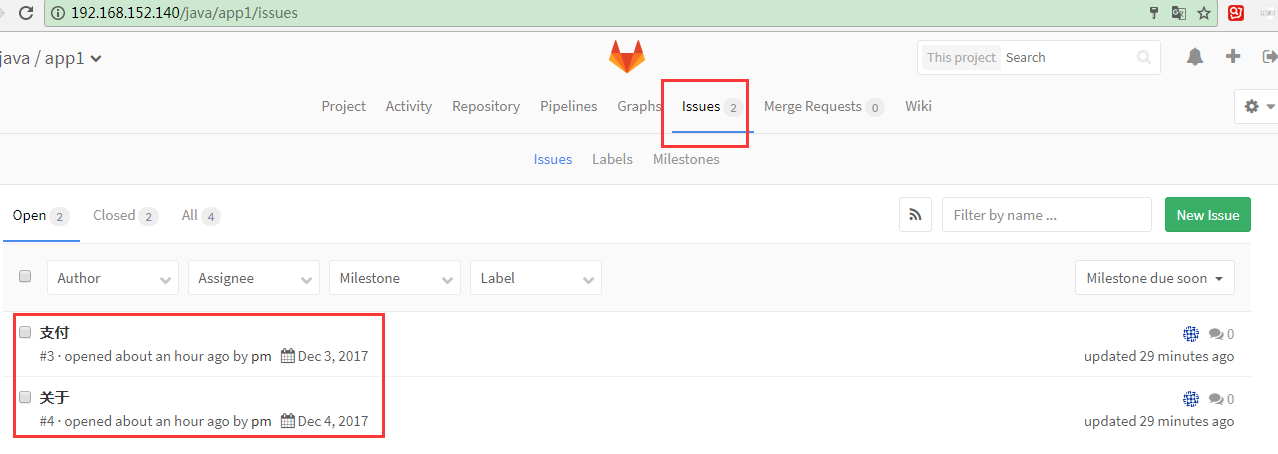
加上close #2可以自动关闭任务。
目前只剩下两个任务了:
切换回主分支,把代码拉下来:
[iyunv@localhost app1]# git checkout master
Switched to branch 'master'
Your branch is ahead of 'origin/master' by 1 commit.
(use "git push" to publish your local commits)
[iyunv@localhost app1]# git pull
remote: Counting objects: 1, done.
remote: Total 1 (delta 0), reused 0 (delta 0)
Unpacking objects: 100% (1/1), done.
From 192.168.152.140:java/app1
837506a..7dc87ee master -> origin/master
Updating 397b0d0..7dc87ee
Fast-forward
[iyunv@localhost app1]# ll
total 12
-rw-r--r-- 1 root root 29 Nov 29 00:20 index.html
-rw-r--r-- 1 root root 12 Nov 29 00:24 news.html
-rw-r--r-- 1 root root 6 Nov 28 00:
14.备份管理
备份配置:
vim /etc/gitlab/gitlab.rb
# 配置文件中加入
gitlab_rails['backup_path'] = '/data/backups/gitlab'
gitlab_rails['backup_keep_time'] = 604800
# 保存7天得备份
# 如果自定义备份目录需要赋予git权限
mkdir -p /data/backups/gitlab
chown -R git.git /data/backups/gitlab
# 重新加载配置文件,重启服务
gitlab-ctl reconfigure
gitlab-ctl restart
# 定时任务Crontab中加入
0 2 * * * /usr/bin/gitlab-rake gitlab:backup:create
手动操作:
[iyunv@localhost ~]# /usr/bin/gitlab-rake gitlab:backup:create
Dumping database ...
Dumping PostgreSQL database gitlabhq_production ... [DONE]
done
Dumping repositories ...
* java/app1 ... [DONE]
* java/app1.wiki ... [SKIPPED]
done
Dumping uploads ...
done
Dumping builds ...
done
Dumping artifacts ...
done
Dumping lfs objects ...
done
Dumping container registry images ...
[DISABLED]
Creating backup archive: 1511969386_gitlab_backup.tar ... done
Uploading backup archive to remote storage ... skipped
Deleting tmp directories ... done
done
done
done
done
done
done
Deleting old backups ... done. (0 removed)
[iyunv@localhost ~]# cd /data/backups/gitlab/
[iyunv@localhost gitlab]# ll
total 112
-rw------- 1 git git 112640 Nov 29 23:29 1511969386_gitlab_backup.tar
[iyunv@localhost gitlab]# date -d @1511969386
Wed Nov 29 23:29:46 CST 2017
策略建议:本地保留三到七天,在异地备份永久保存
恢复操作:
# 停止数据写入服务,只需要停止这两个服务
gitlab-ctl stop unicorn
gitlab-ctl stop sidekiq
# 执行恢复数据操作
gitlab-rake gitlab:backup:restore BACKUP=1511969386
date -d @1511969386
实战操作:
执行上面得恢复操作命令,并重启服务:
# 停止数据写入服务,只需要停止这两个服务
gitlab-ctl stop unicorn
gitlab-ctl stop sidekiq
# 执行恢复数据操作
gitlab-rake gitlab:backup:restore BACKUP=1511969386
date -d @1511969386
[iyunv@localhost gitlab]# gitlab-ctl restart
ok: run: gitlab-workhorse: (pid 4473) 1s
ok: run: logrotate: (pid 4479) 0s
ok: run: nginx: (pid 4485) 1s
ok: run: postgresql: (pid 4492) 0s
ok: run: redis: (pid 4500) 1s
ok: run: sidekiq: (pid 4504) 0s
ok: run: unicorn: (pid 4507) 0s
恢复实战:
手工备份
/usr/bin/gitlab-rake gitlab:backup:create
记录系统状态
系统变更
进行恢复
15.邮件配置
gitlab_rails['time_zone'] = 'Asia/Shanghai'
gitlab_rails['gitlab_email_enabled'] = true
gitlab_rails['gitlab_email_from'] = 'luchuangao@126.com'
gitlab_rails['gitlab_email_display_name'] = 'gitlab'
gitlab_rails['smtp_enable'] = true
gitlab_rails['smtp_address'] = "smtp.126.com"
gitlab_rails['smtp_port'] = 25
gitlab_rails['smtp_user_name'] = "luchuangao"
gitlab_rails['smtp_password'] = "your_password"
gitlab_rails['smtp_domain'] = "126.com"
gitlab_rails['smtp_authentication'] = "login"
16. gitlab的api调用
gitlab官方介绍:
https://docs.gitlab.com/ee/api/README.html
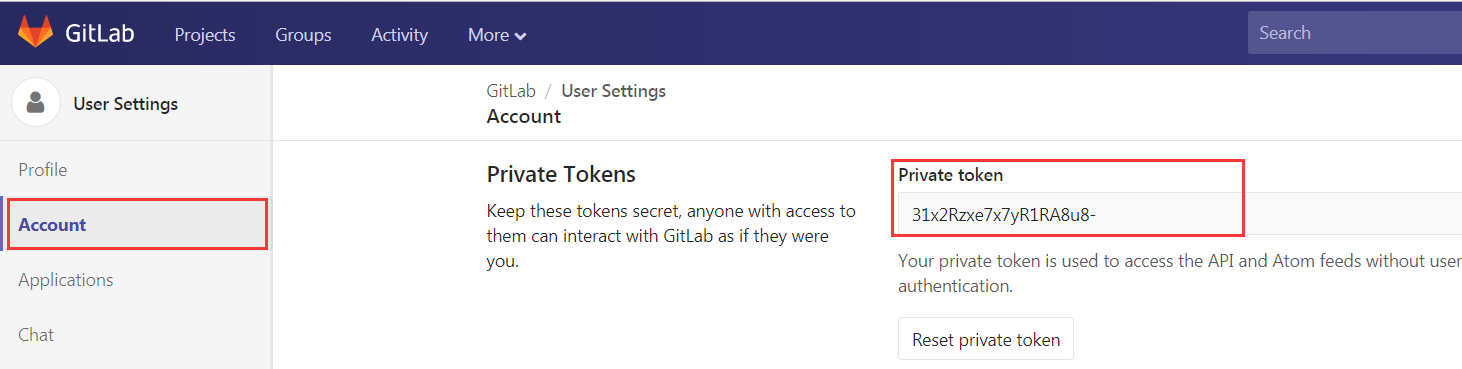
(1) token做认证:
Token有三种:
- OAuth2 tokens
- Personal access tokens
- Session cookie
(2) 使用
curl --header "PRIVATE-TOKEN: 31x2Rzxe7x7yR1RA8u8-" "http://192.168.8.8/api/v4/groups/18"
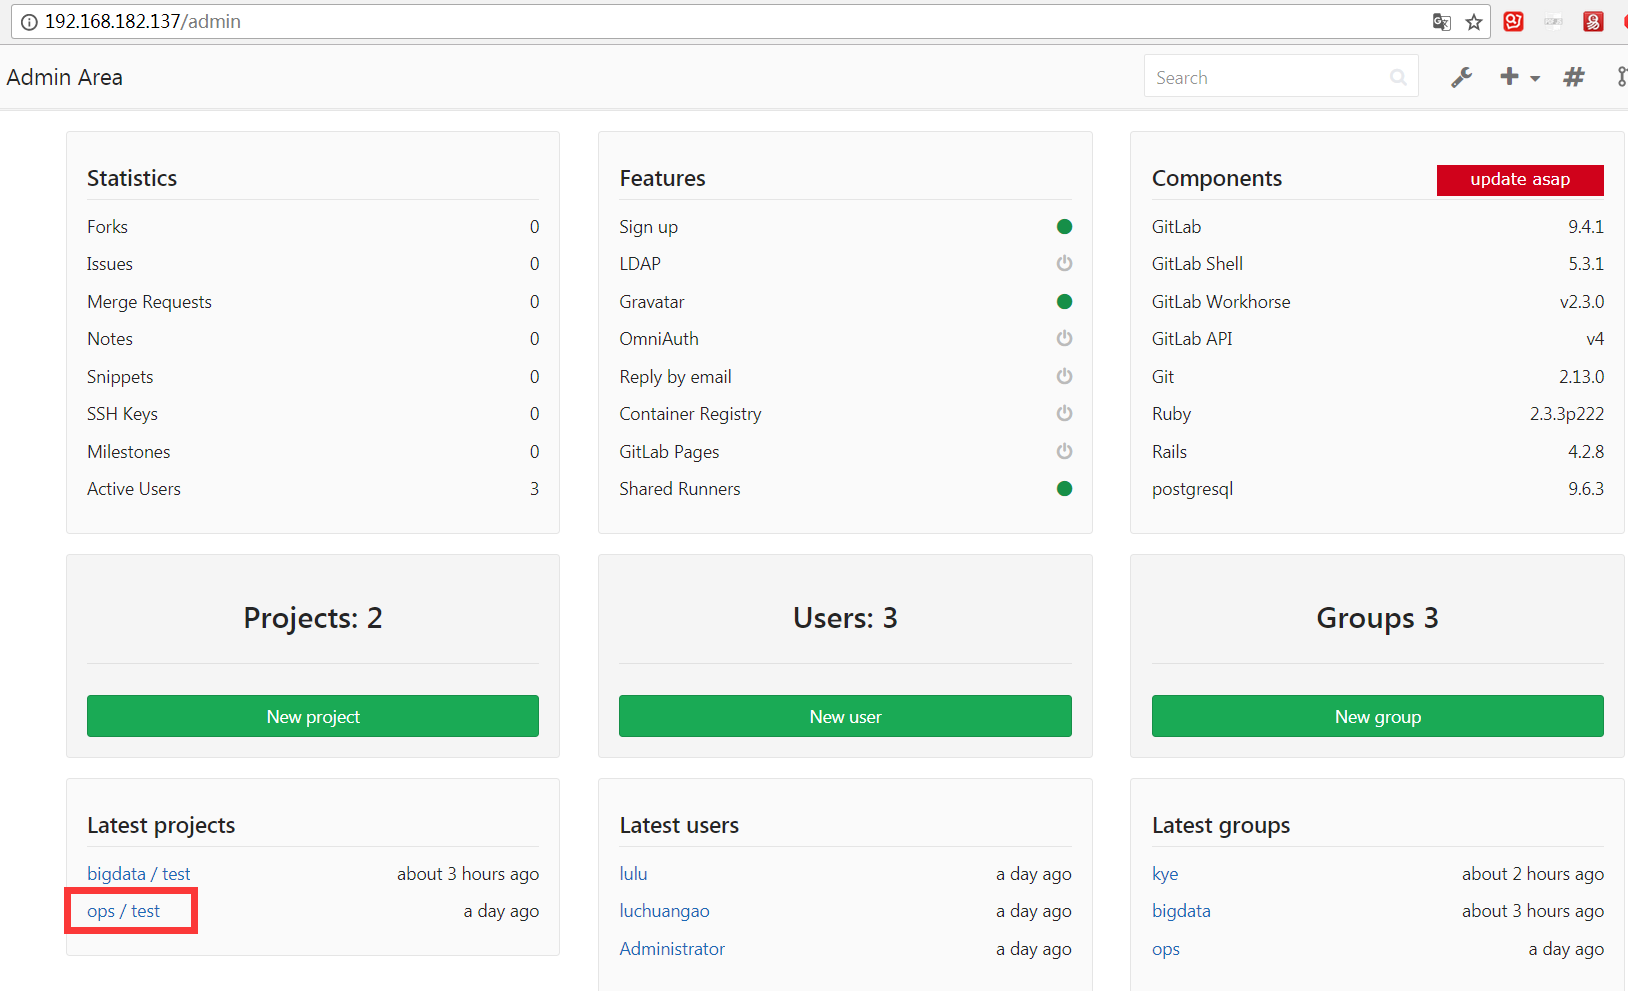
17. gitlab项目迁移
把A服务器上的gitlab项目ops导入到B服务器上的gitlab项目中
A服务器:
B服务器:
操作命令:
#A服务器操作命令:
cd /var/opt/gitlab/git-data/repositories/
tar -zcf /tmp/ops.tar.gz ops/
scp /tmp/ops.tar.gz root@192.168.182.138:/backup
#B服务器操作命令
cd /var/opt/gitlab/git-data/repositories/
tar -xf /backup/ops.tar.gz -C ./
cd ops/
# 重新生成hooks
#[iyunv@gitlab ops]# find . -name 'hooks'
#./test.git/hooks
#./test.wiki.git/hooks
find . -name 'hooks' -execdir mv {} hooks-old \;
#导入新的项目
[iyunv@gitlab ops]# gitlab-rake gitlab:import:repos
Processing yunwei/demo.git
* demo (yunwei/demo.git) exists
Processing yunwei/demo.wiki.git
* Skipping wiki repo
Processing bigdata/demo.git
* demo (bigdata/demo.git) exists
Processing bigdata/demo.wiki.git
* Skipping wiki repo
Processing ops/test.git
* Created Group ops (10)
* Created test (ops/test.git)
Processing ops/test.wiki.git
* Skipping wiki repo
Done!
注意:一定要把迁移的项目hooks重新生成。
find . -name 'hooks' -execdir mv {} hooks-old \;
参考:https://gitlab.com/gitlab-org/gitlab-ce/issues/2082
|
|
|
 QQ群⑧:
QQ群⑧:


 窥视卡
窥视卡 雷达卡
雷达卡 发表于 2018-1-10 23:29:28


 提升卡
提升卡 置顶卡
置顶卡 沉默卡
沉默卡 喧嚣卡
喧嚣卡 变色卡
变色卡 千斤顶
千斤顶 显身卡
显身卡