本帖最后由 3r211 于 2014-9-4 09:05 编辑
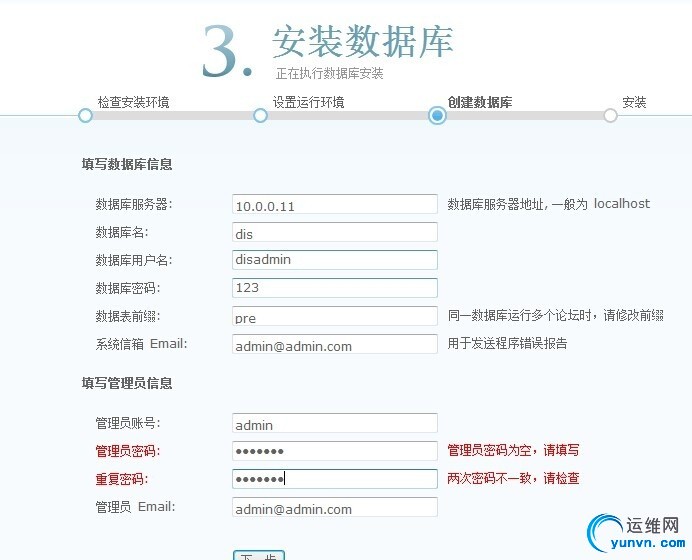
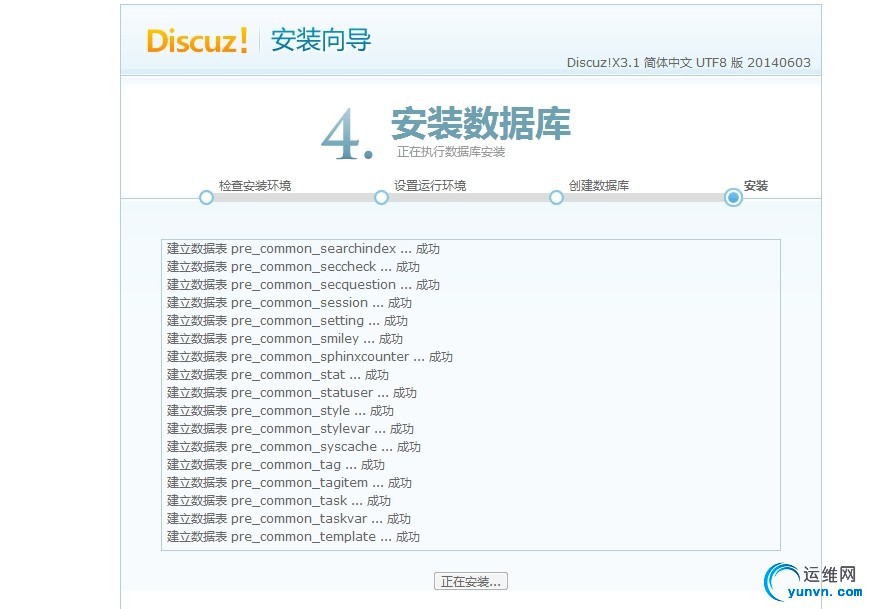
本节我们来讲一讲如何利用LVS-NAT简单地实现discuz论坛的搭建,这里我并没有对LVS进行详细的介绍,因此,在搭建之前,小伙伴们必须还得提前了解关于LVS的知识哦。好了话不多说,下面我们就开始搭建了。 本实验网络拓扑图:

其实这个实验跟我们前边讲过的DNS+LAMP搭建论坛非常相似,只是这里多了个director,通过director可以对2台WEB服务器即RSRS2进行访问轮询规则的控制。
mysql服务器配置
可以直接用yum安装,我这里是用二进制包安装的。
安装的过程这里就不再给出了,如果没记住的小伙伴可以参考这里:http://www.iyunv.com/thread-24345-1-1.html
好了下面就开始相关的配置了。
创建数据库及用户授权
1
2
3
4
5
6
7
8
9
10
11
12
13
14
15
16
17
| MariaDB [(none)]> create database dis;
Query OK, 1 row affected (0.25 sec)
MariaDB [(none)]> show databases;
+--------------------+
| Database |
+--------------------+
| dis |
| hellodb |
| information_schema |
| mydata |
| mysql |
| performance_schema |
| test |
+--------------------+
7 rows in set (0.17 sec)
MariaDB [(none)]> grant all on dis.* to disadmin@'10.0.0.%' identified by '123';
Query OK, 0 rows affected (0.08 sec)
|
好了,数据库服务器中需要的操作完成。
PHP服务器的配置
本次编译安装的是php-5.4.26
1
2
3
4
| [iyunv@localhost ~]# tar xf php-5.4.26.tar.bz2
[iyunv@localhost ~]# cd php-5.4.26
[iyunv@localhost ~]#./configure --prefix=/usr/local/php --with-mysql --with-openssl --with-mysqli --enable-mbstring --with-freetype-dir --with-jpeg-dir --with-png-dir --with-zlib --with-libxml-dir=/usr --enable-xml --enable-sockets --enable-fpm --with-mcrypt --with-config-file-path=/etc --with-config-file-scan-dir=/etc/php.d --with-bz2
[iyunv@localhost ~]# make && make install
|
由于这里是作为PHP服务器的,因此这里编译需要加上一个FPM模块。 为php提供配置文件:
1
| # cp php.ini-production /etc/php.ini
|
配置php-fpm
为php-fpm提供SysV init脚本,并将其添加至服务列表:
1
2
3
4
| # cp sapi/fpm/init.d.php-fpm /etc/rc.d/init.d/php-fpm
# chmod +x /etc/rc.d/init.d/php-fpm
# chkconfig --add php-fpm
# chkconfig php-fpm on
|
为php-fpm提供配置文件:
1
| # cp /usr/local/php/etc/php-fpm.conf.default /usr/local/php/etc/php-fpm.conf
|
编辑php-fpm的配置文件:
1
| # vim /usr/local/php/etc/php-fpm.conf
|
配置fpm的相关选项为你所需要的值,并启用pid文件(如下最后一行):
1
2
3
4
5
| pm.max_children = 50
pm.start_servers = 5
pm.min_spare_servers = 2
pm.max_spare_servers = 8
pid = /usr/local/php/var/run/php-fpm.pid
|
接下来就可以启动php-fpm了:
1
| # service php-fpm start
|
这样我们的PHP服务器就编译好了。
real server服务器配置:即2个HTTPD服务器
那么下面我们就直接对配置进行修改了。
1
| [iyunv@localhost ~]# vim /etc/httpd24/httpd.conf
|
修改配置文件:
定位至DirectoryIndex index.html
修改为: DirectoryIndex index.php index.html
由于我们需要启用虚拟主机,因此注释该项 添加PHP文件的类型,以便识别: 开启反向代理模块: 开启虚拟主机文件 创建虚拟主机: 1
| [iyunv@localhost ~]# vim /etc/httpd24/extra/httpd-vhosts.conf
|
1
2
3
4
5
6
7
8
9
10
11
12
13
14
15
16
17
18
19
20
21
22
|
servername www.iyunv.com
documentroot /web/nod1
ProxyRequests Off
ProxyPassMatch ^/(.*.php)$ fcgi://10.0.0.10:9000/php/$1
Options none
AllowOverride none
Require all granted
servername www.iyunv.com
documentroot /web/nod2
ProxyRequests Off
ProxyPassMatch ^/(.*.php)$ fcgi://10.0.0.10:9000/php/$1
Options none
AllowOverride none
Require all granted
|
这样RS服务器就配置好了。
NFS服务器配置
直接启动服务
1
| [iyunv@localhost ~]# service nfs start
|
创建共享目录 1
| [iyunv@localhost /]# mkdir /shared
|
设置配置文件: 1
| [iyunv@localhost /]# vim /etc/exports
|
客户端需要将服务器端的共享目录挂载到相应服务的根目录: 1、RS服务器端

2、PHP服务器端 挂载

Direcetor配置
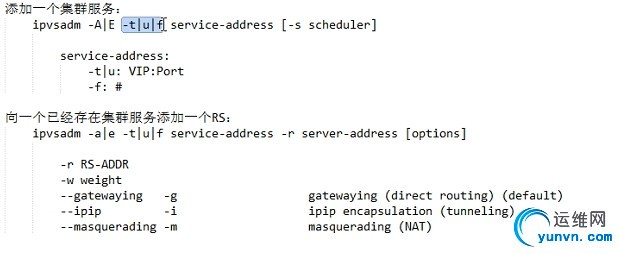
安装ipvsadm
1
| [iyunv@localhost ~]# yum install ipvsadm -y
|

1
2
3
4
5
6
7
8
9
10
11
| [iyunv@localhost ~]# ipvsadm -A 172.16.106.1 -s rr
[iyunv@localhost ~]# ipvsadm -A 172.16.106.1:80 -r 10.0.0.8 -m
[iyunv@localhost ~]# ipvsadm -A 172.16.106.1:80 -r 10.0.0.9 -m
[iyunv@localhost ~]# echo 1 > /proc/sys/net/ipv4/ip_forward
[iyunv@localhost ~]# ipvsadm -L -n
IP Virtual Server version 1.2.1 (size=4096)
Prot LocalAddress:Port Scheduler Flags
-> RemoteAddress:Port Forward Weight ActiveConn InActConn
TCP 172.16.106.1:80 rr
-> 10.0.0.8:80 Masq 1 0 0
-> 10.0.0.9:80 Masq 1 0 0
|
OK!
好了都OK了,下面就可以直接打开网页测试了。


提示文件权限不够
1
| [iyunv@localhost shared]# chmod -R o+w upload/
|
修改后刷新页面的效果


OK.
本节内容就到这里,欢迎大家的批评指正,谢谢!
|